In this Cassandra tutorial section, we will go through the installation process of the Cassandra version 4.0.1 on the Ubuntu 18.04.4 LTS (Bionic Beaver). After the successful installation of Cassandra, we can play around with it.
Platform
- Operating System (OS). We will be using the Ubuntu 18.04.4 LTS version of the operating system, You can use another flavor of the operating system by checking the required version support from Cassandra's main website(https://cassandra.apache.org/doc/latest/cassandra/getting_started/installing.html).
- Cassandra. The Apache Cassandra Version 4.0.1 has been used for the installation.
- Java. Install Java version 8 or above version of Java.
Download Software
- Cassandra.
https://archive.apache.org/dist/cassandra/4.0.1/apache-cassandra-4.0.1-bin.tar.gz
Installation of Cassandra Version 4.0.1 on Ubuntu 18.04.4 LTS
Step 1. Verify the Java installation using the below command. If it is not installed then install it following the below step.
cloudduggu@ubuntu:-$ java -version
Step 2. If Java is not installed then install it following the below step.
cloudduggu@ubuntu:-$ sudo apt-get install openjdk-8-jdk
Step 3. Download the Cassandra version 4.0.1 from the below link.
On Linux: $wget https://archive.apache.org/dist/cassandra/4.0.1/apache-cassandra-4.0.1-bin.tar.gz
On Windows: https://archive.apache.org/dist/cassandra/4.0.1/apache-cassandra-4.0.1-bin.tar.gz

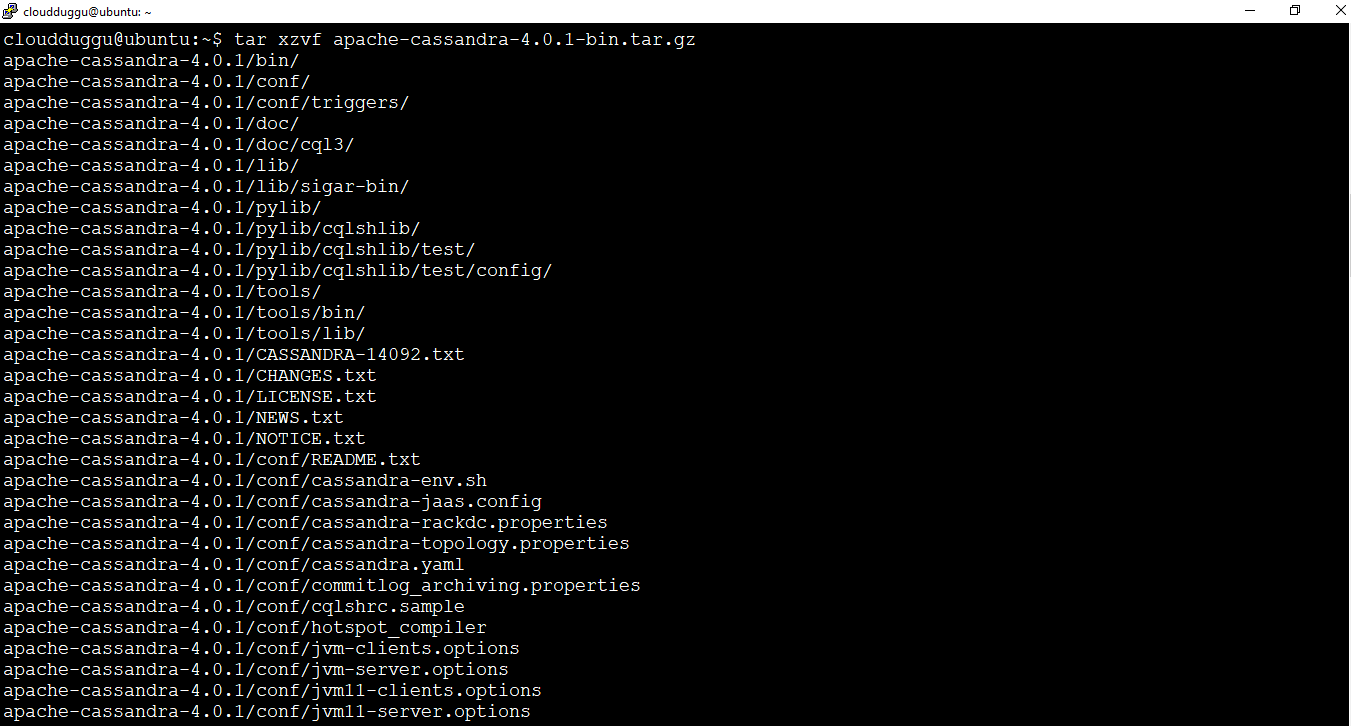
Step 4. Let's untar the Cassandra Tarball using the below command.
cloudduggu@ubuntu:~$ tar xzvf apache-cassandra-4.0.1-bin.tar.gz
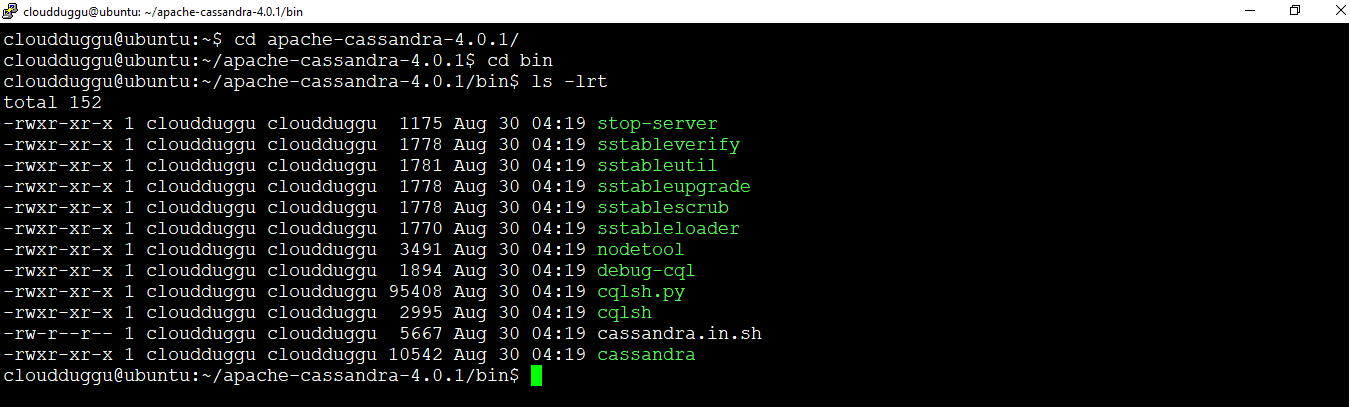
Step 5. Now go to the /apache-cassandra-4.0.1 directory and go in the bin directory using the below commands.
cloudduggu@ubuntu:~$ cd apache-cassandra-4.0.1/
cloudduggu@ubuntu:~/apache-cassandra-4.0.1$ cd bin
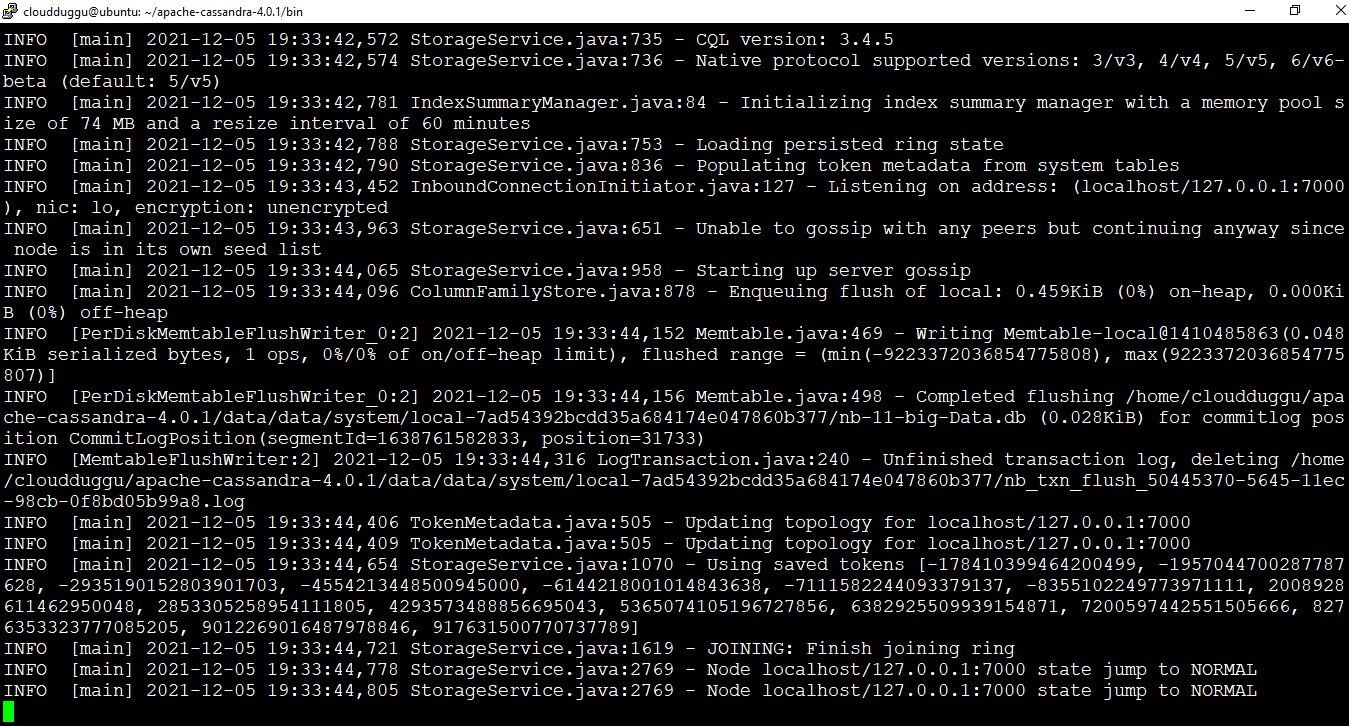
Step 6. Start the Cassandra using the below command.
cloudduggu@ubuntu:~/apache-cassandra-4.0.1/bin$ ./cassandra

Once the Cassandra is started the below output will come.
Step 7. We can verify the Cassandra Status using the nodetool command as mentioned below.
cloudduggu@ubuntu:~/apache-cassandra-4.0.1/bin$ ./nodetool status

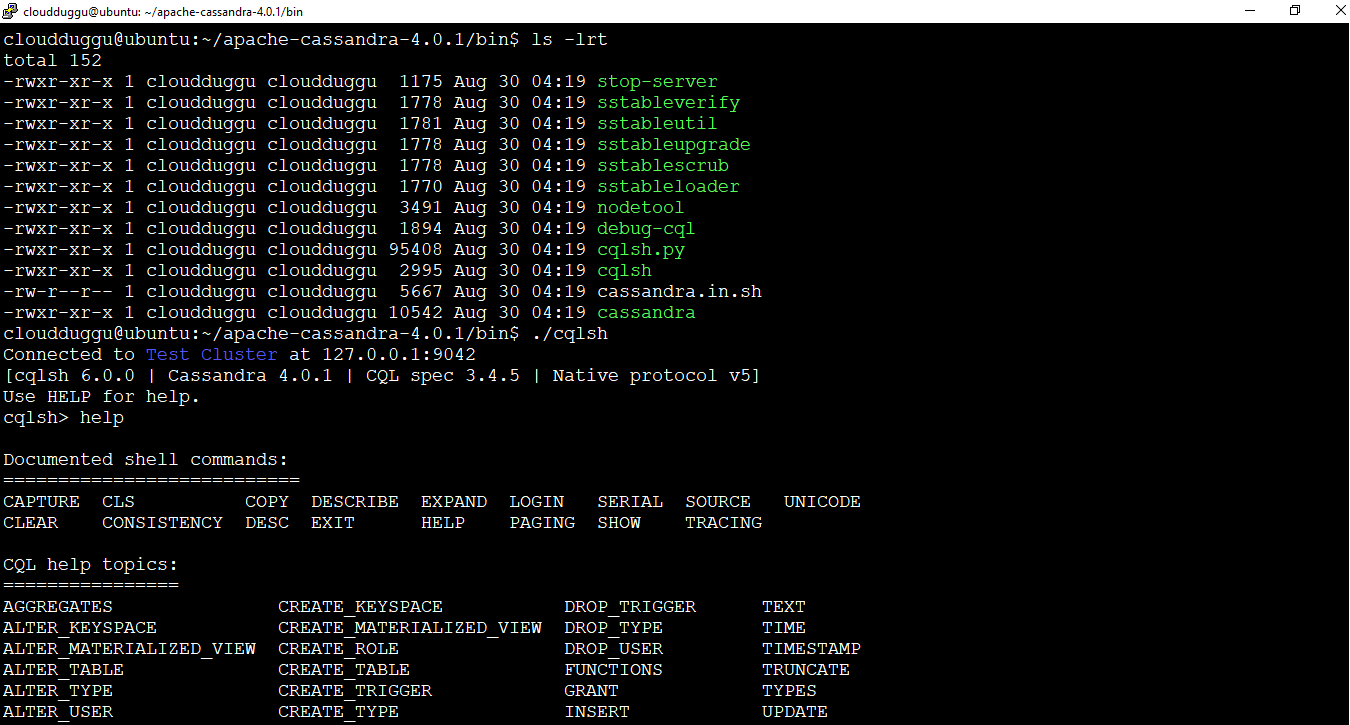
Step 8. Now, let's start the cqlsh tool using the below command and run the help command to verify the installation.