In this tutorial, we will create the Apache Derby Project, which will receive inputs in the form of SQL queries from the Client HTML page and execute it in the Derby Database and return the result to the Client system.
So readers ... are you ready to create an Apache Derby project. (Client-Queries-Execute-Using-Derby)
1. Idea Of Project
| a. Start Derby database with Network Server Mode in the Derby System. |  |
| b. Start client application with Derby database connection string in the Client System and check database connectivity is a success with the running Derby System. |  |
| c. After successfully Derby database connectivity, execute the queries from the Client System. And that time the Derby System received the client request queries and execute them into the Derby database. |  |
| d. Once the result data get from the Derby database, the Derby System sends the results to the Client System and the Client System displays the results on a client page. |  |
2. Building Of Project
To run this project you can install VM (Virtual Machine) on your local system and configured Derby on that. After this configuration, your local system will work as a Client System and Derby VM will work as a Derby System. Alternatively, you can take two systems that are communicating with each other and on one of the systems, Derby is configured.
Let us see this project in detail and run it using the below steps.
| a. The Client System | ||
|---|---|---|
| It is an example of the Spring Boot JAVA Framework. When we will build this project then it will create a "client.jar" executable file. |  |
|
| It has java code and static HTML pages. | ||
| Java code has 1 file, DerbyController.java | ||
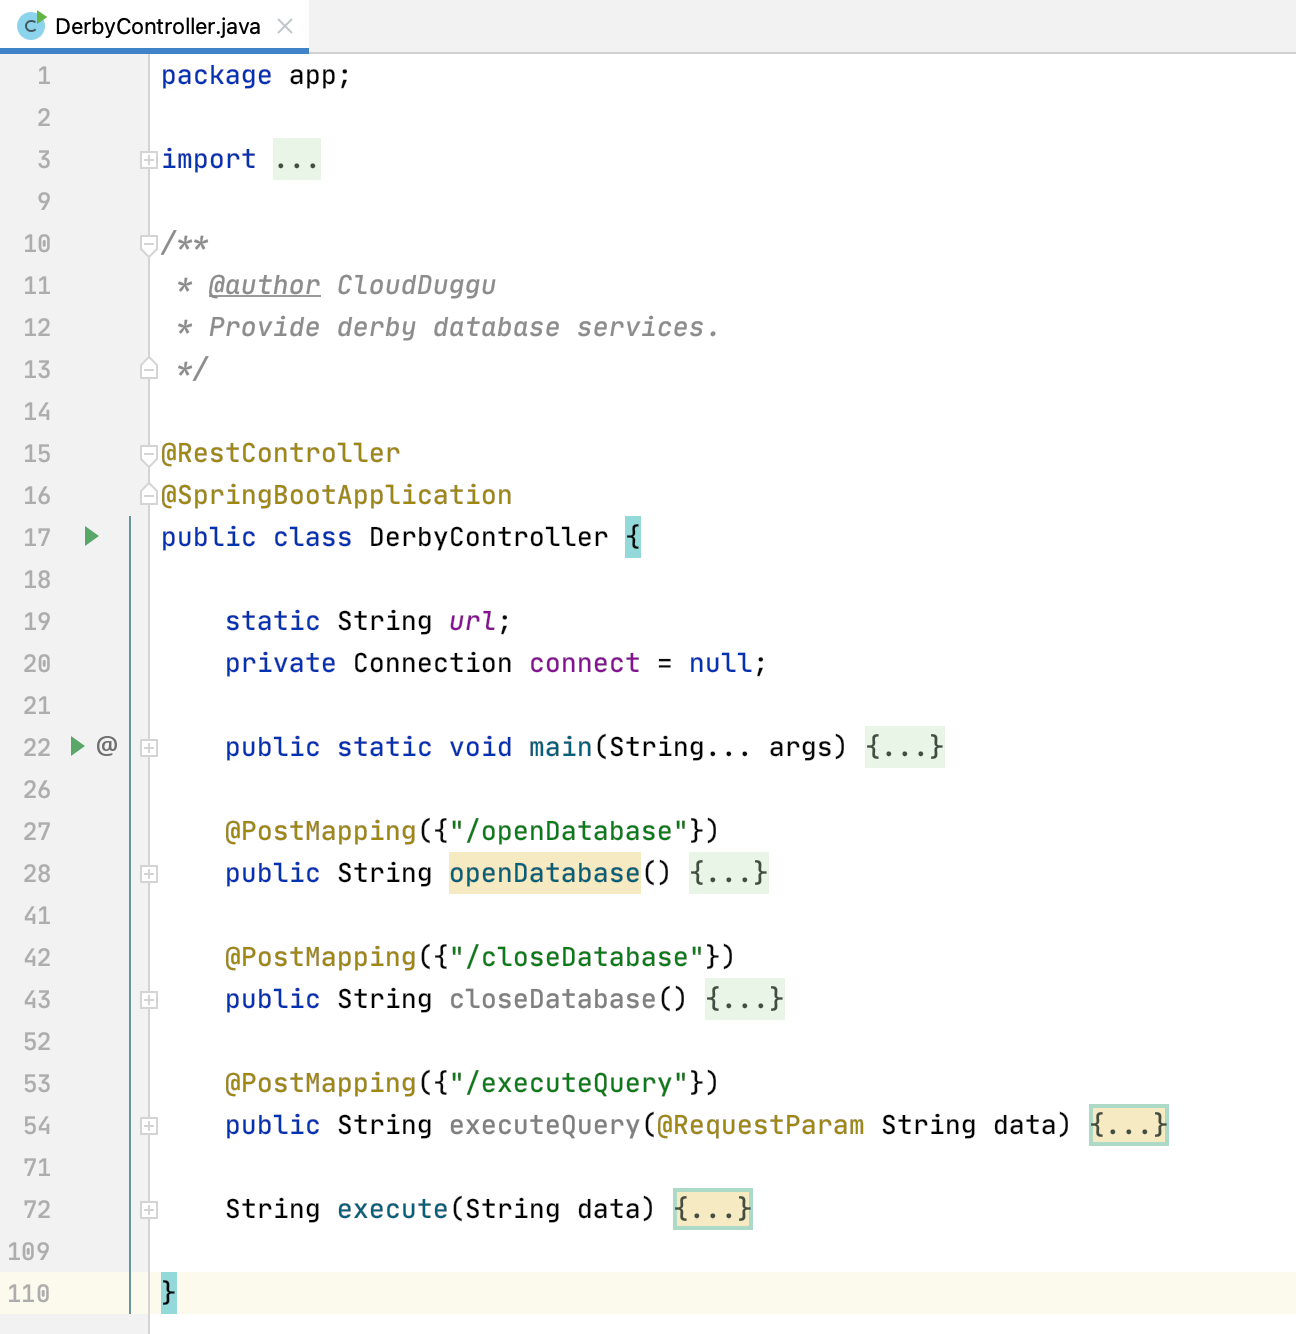
| DerbyController.java is the main project file, which is responsible for building code and running it on an embedded server. This file also have client services code (which help to client activities) like: openDatabase(), executeQuery(). | ||
| The Static folder has HTML page code (index.html). This is the main client view page which has the input query form and shows the process result data. | ||
| pom.xml is a project build tool file. This file has java dependencies and builds configuration details. | ||
| For creating the “client.jar” file we use the command "mvn clean package". | ||
| Click Here To Download the "DerbyApplication" project zip file. | ||
| b. Apache Derby System | ||
|---|---|---|
| The Derby system has the Derby setup installed and ready to use. To easily execute the project we will run Derby services on one machine and we will use another machine to run the client application. | ||
| Below setup to run the Derby services in Network Server Mode ... | ||
Set environment variable according to system setup...
export JAVA_HOME=/home/java/jdk1.8.0_271.jdk

|
||
In the next step start the derby network server.
$DERBY_INSTALL/startNetworkServer &

|
||
The next step is to set the derby network client.
$DERBY_INSTALL/setNetworkClientCP

|
||
Now the Derby System is ready to connect over the network. Client System can connect with local Derby System using below JDBC string.
jdbc:derby://localhost:1527/EMPDB;create=true

|
||
3. Run The Project
| a. Client System | b. Derby System | |
|---|---|---|
| 1. | Download the client.jar in the Client System. Click Here To Download the "client.jar" executable jar file. |
Start the derby database with network server mode. |

|

|
|
| 2. | Run client.jar in the client system. At execution time pass the derby JDBC connection string.java -jar client.jar jdbc:derby://localhost:1527/EMPDB
|
|
 |
||
| 3. | Open the Web browser and check the Client page using URL: http://localhost:8080 | |
 |
||
| 4. | Check the Derby network JDBC connectivity using the client page button (Check Database Connectivity). After a successful connection, the success connection message show on the client page. |
|
 |
||
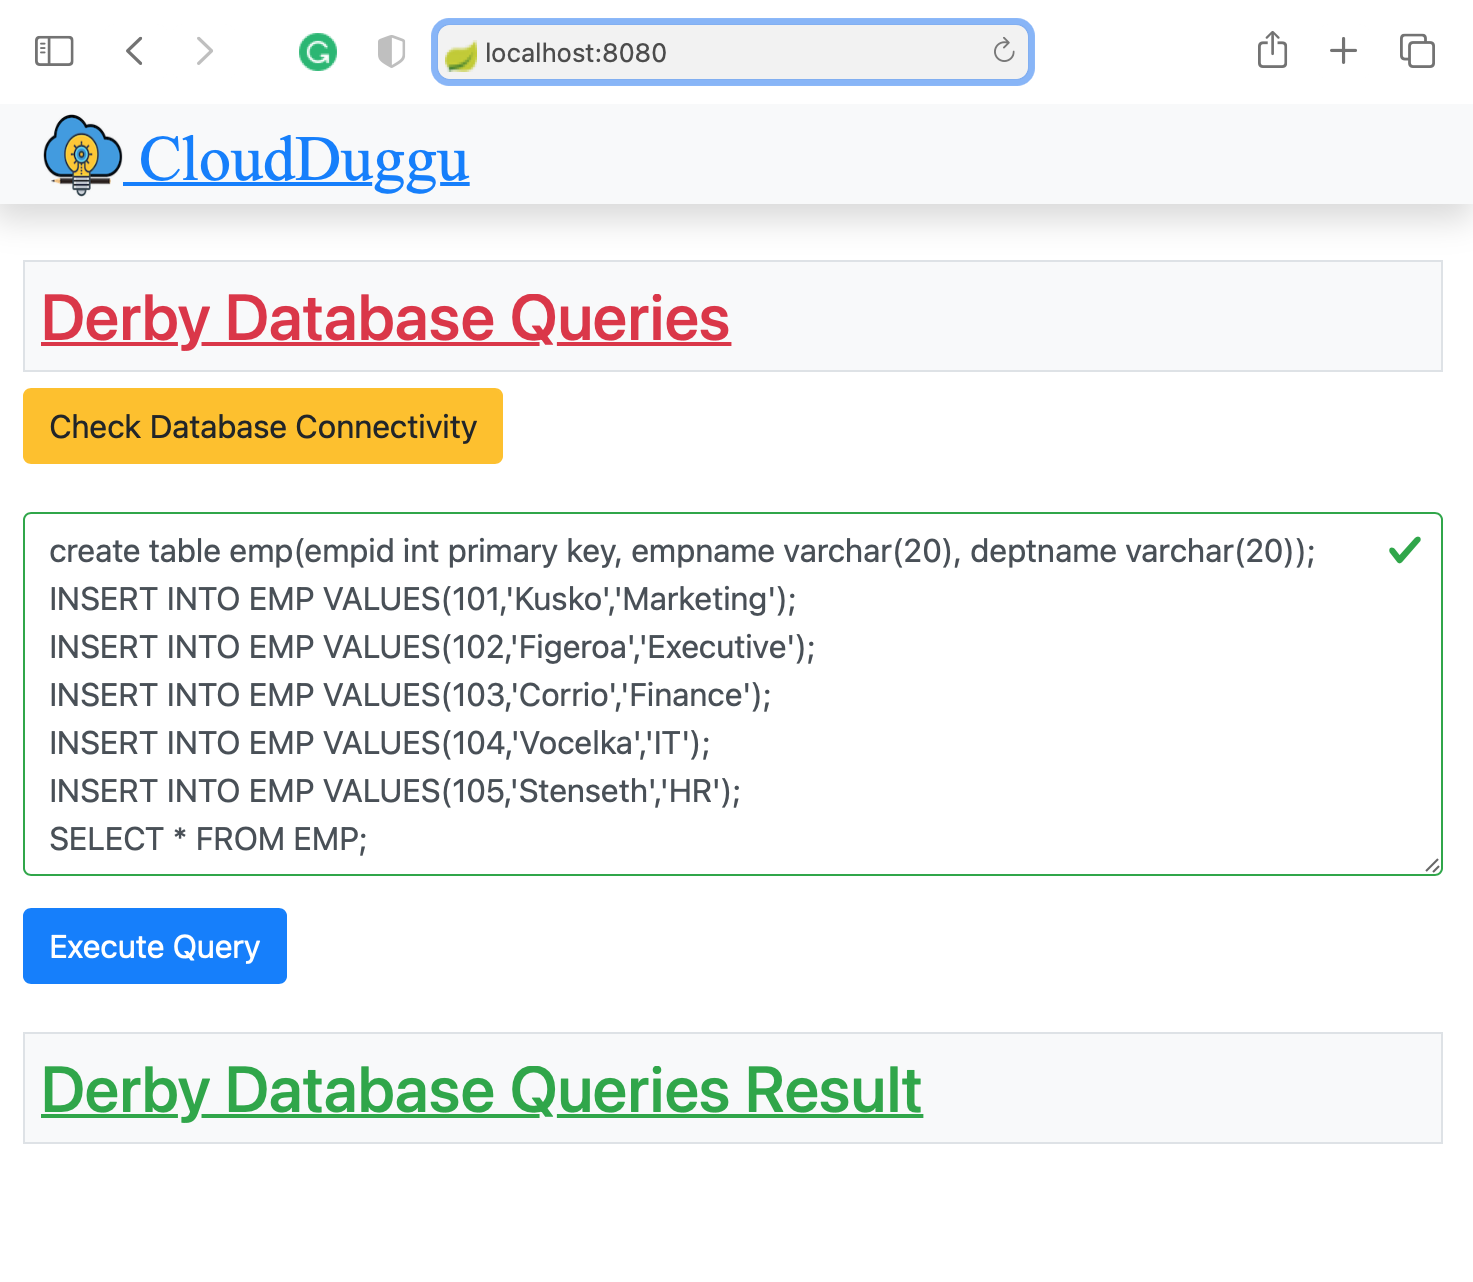
| 5. | After successfully derby connection, write the queries and click the 'Execute Query' button to send queries to the Derby System. | |
 |
||
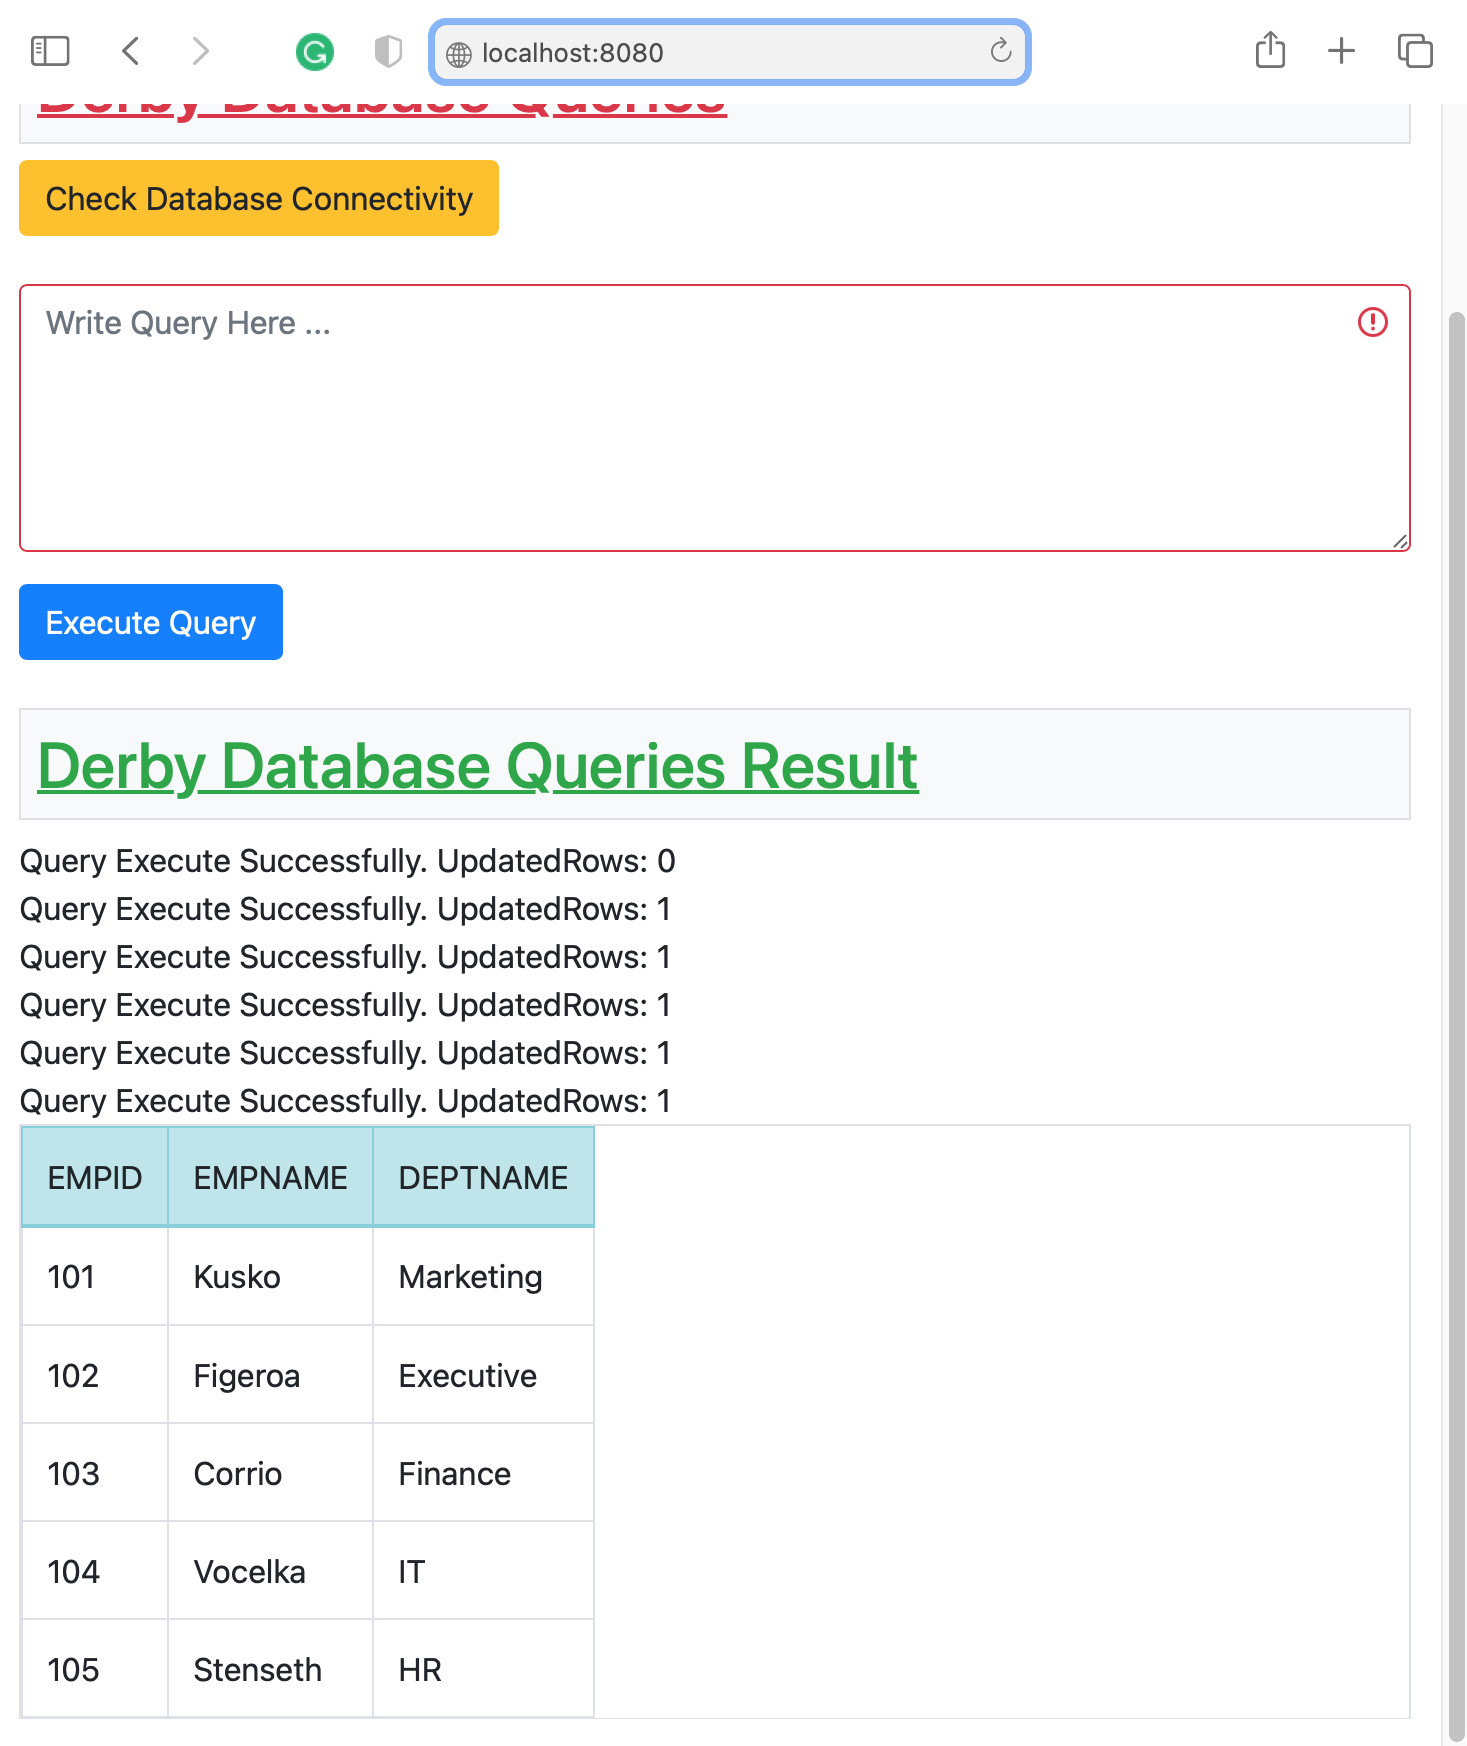
| 6. | After the successful execution of the query, the query result appears on the same page. | |
 |
4. Project Files Description In Detail
DerbyController.java
It is a core client Java file, which is responsible for running the client application and providing all necessary services to the client page. The client performs all the actions by calling the POST URL using JavaScript and by this DerbyController.java file, all these POST URLs are served.

(line 1) Here declare the java package name (app).
(line 3-8) Here import those java packages whose class is used in the below code.
(line 15,16) Use annotations to inject dependencies of REST services and SPRING BOOT services.
(line 22-25) The main method to execute client application as web project on the embedded tomcat server with default port 8080.
(line 27-40) The method here provides the POST service, which is used to check the database connection and open it if the database connection is not open.
(line 42-51) This POST method service is used to close the database connection if it's open.
(line 53-70) This POST method is used to provide the service in which all the queries sent by the client are executed.
(line 72-108) This method helps to execute query logic and generate HTML table code for client result view.
[The Derby Project] final page of the success.
| Execute Query | View Result |
|---|---|

|

|
:) ...enjoy the Derby project.

