In this tutorial on PostgreSQL, we will go through the PostgreSQL Version 14 installation on Windows 10 operating system. After PostgreSQL installation, we will explore it.
Platform
- Operating System (OS). We will use the Windows 10 operating system to install PostgreSQL.
- Hardware Requirements.The minimum hardware requirement is a 1 GHz processor, 2 GB of RAM, and 512 MB of HDD.
- PostgreSQL. The PostgreSQL Version 14 is used to install on Windows 10 operating system.
Steps to Install PostgreSQL 14 on Windows 10 Operating System
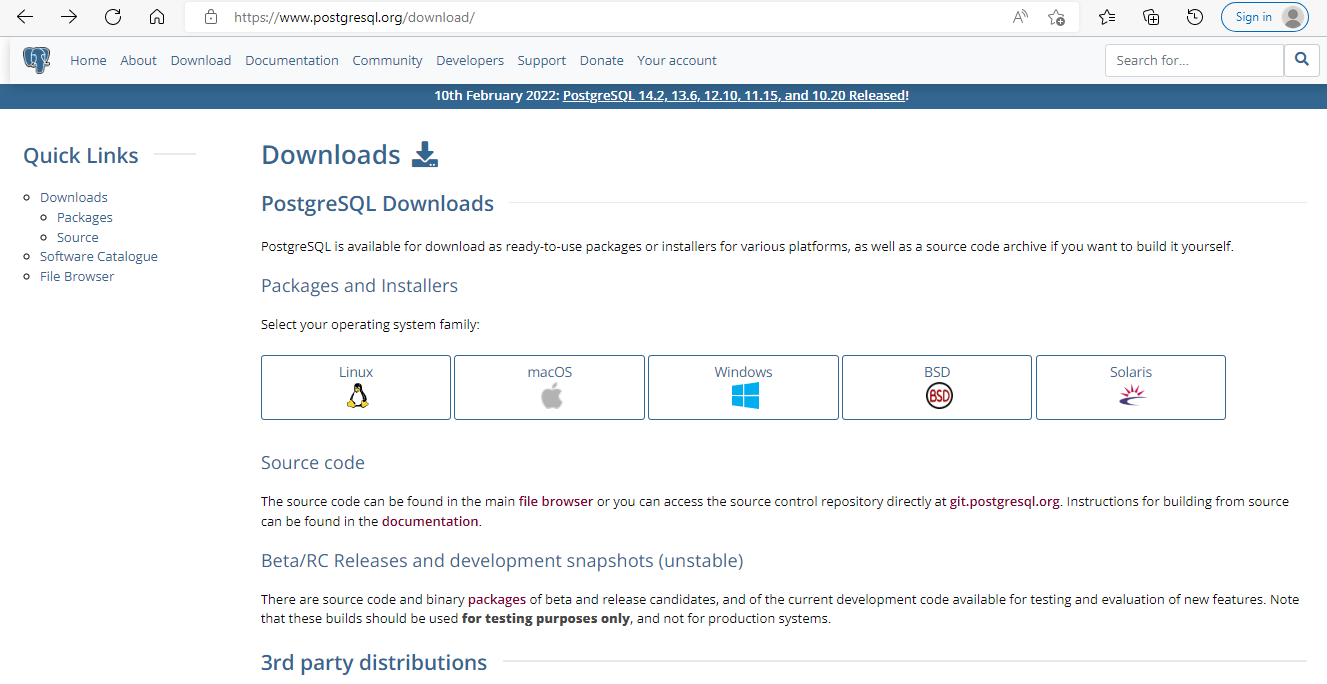
Step 1. Please navigate to the below PostgreSQL download link.
https://www.postgresql.org/downloads
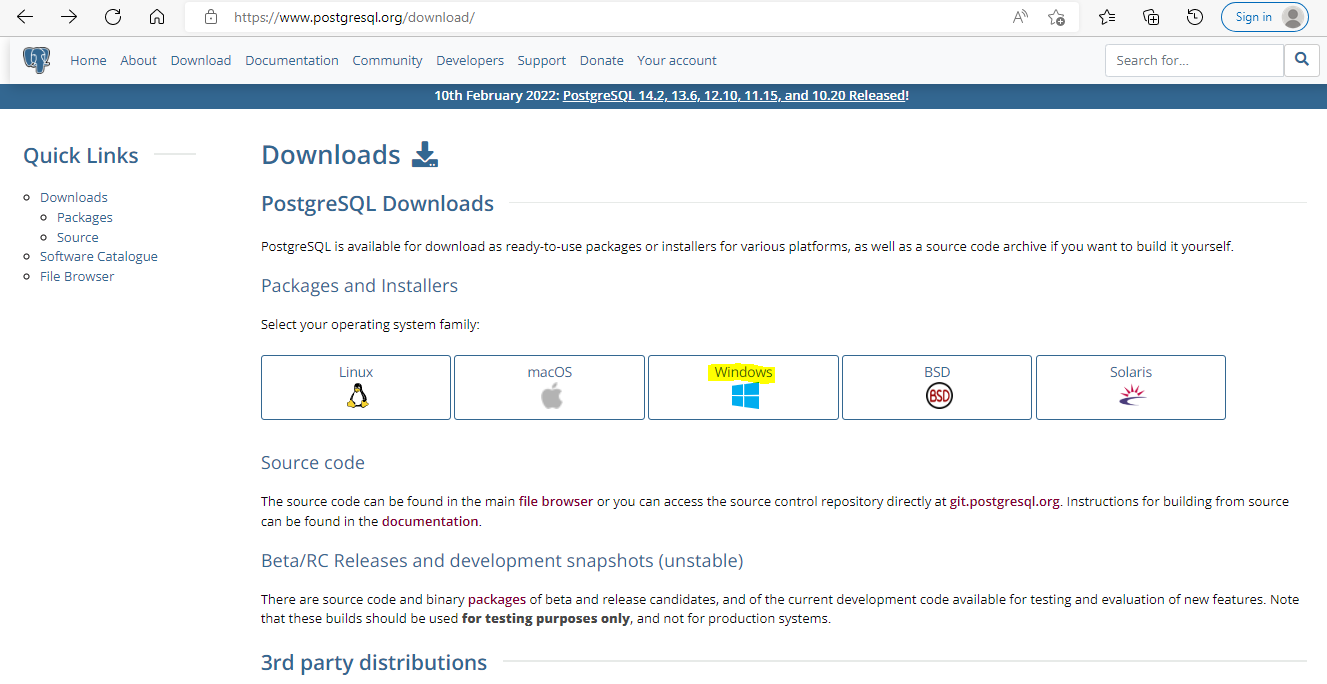
Step 2. Select the operating system as windows and proceed as mentioned in the below figure.
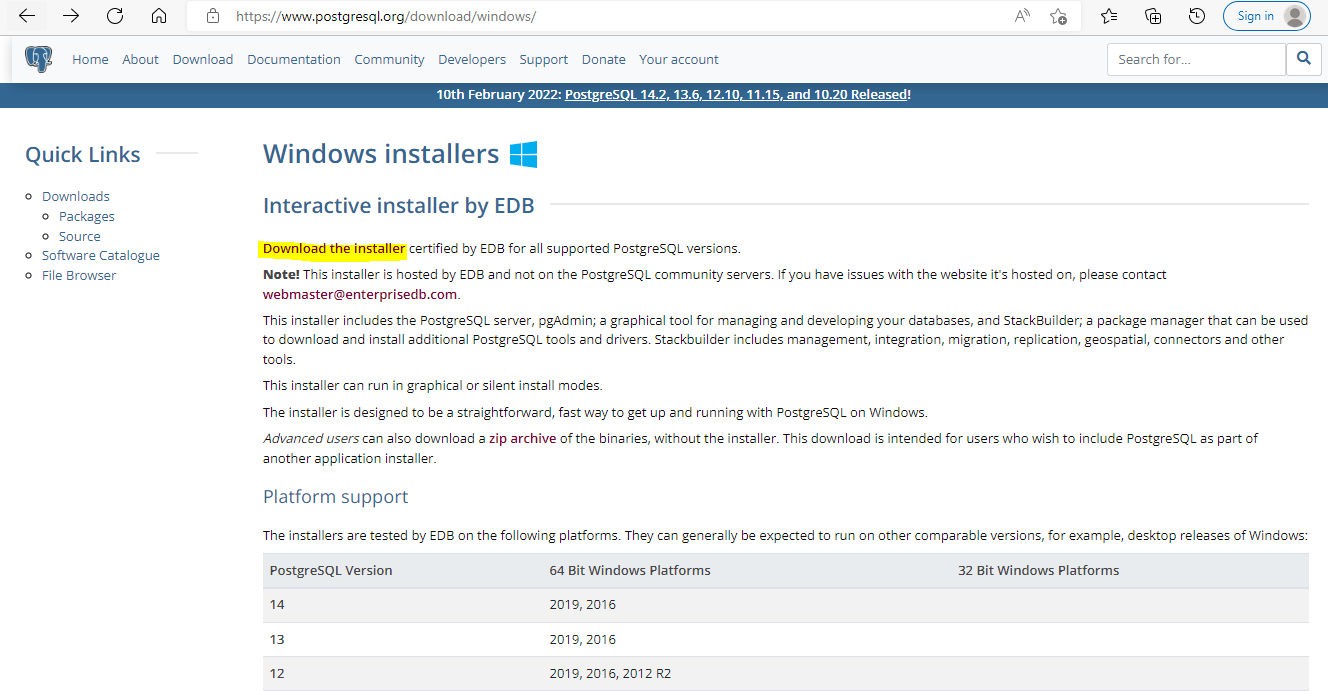
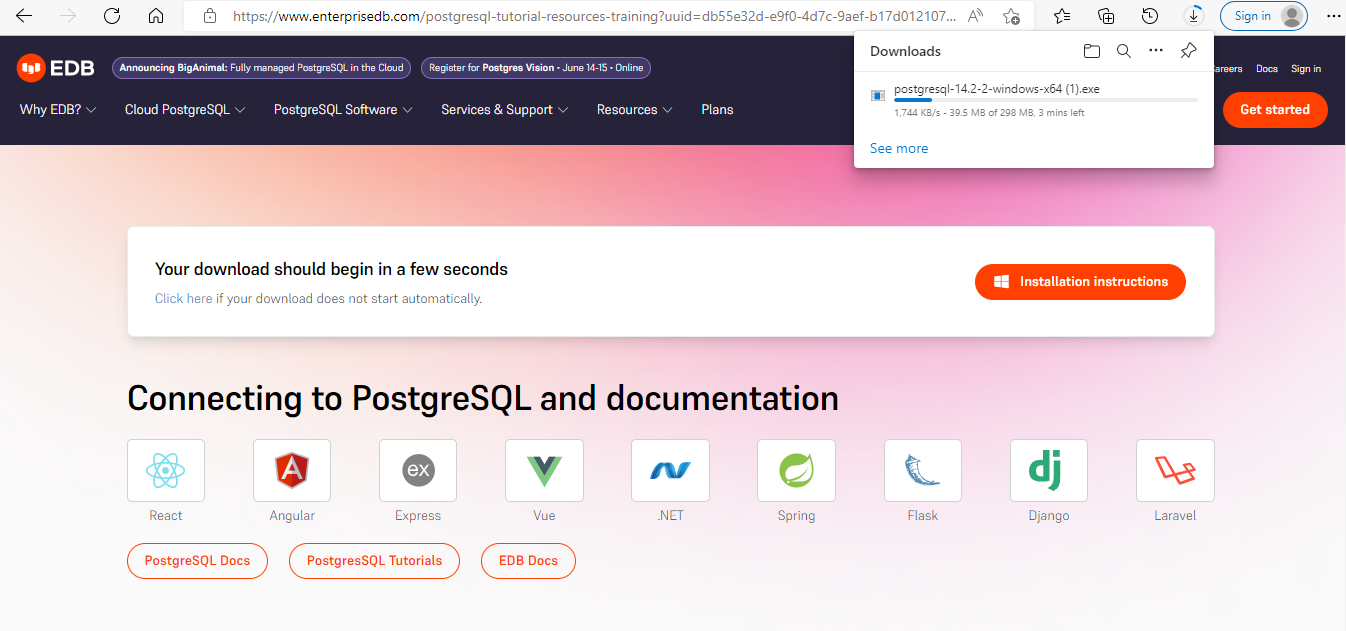
Step 3. Now click on Download the installer to download the software.
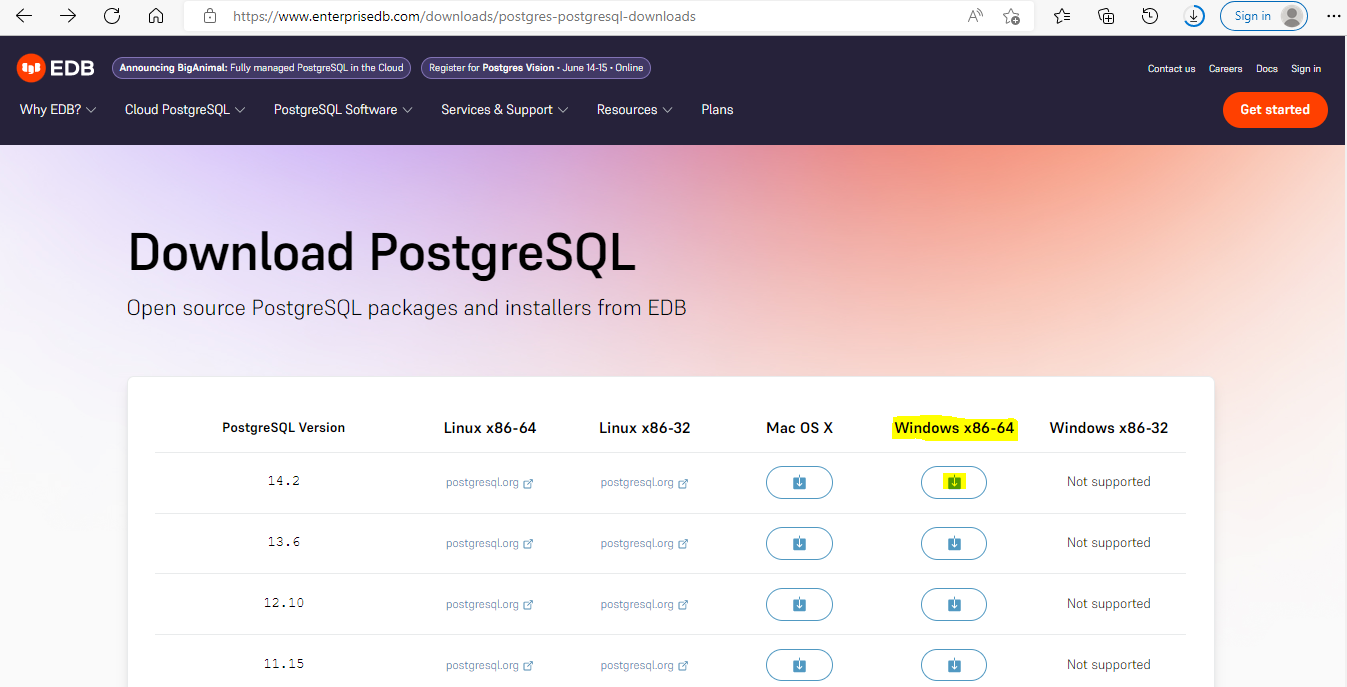
Step 4. Select Windows x86-64 and click on the download button to start the downloading.
Step 5. Now go to the Download folder of windows and right-click on the PostgreSQL set up file and select Run as Administrator.

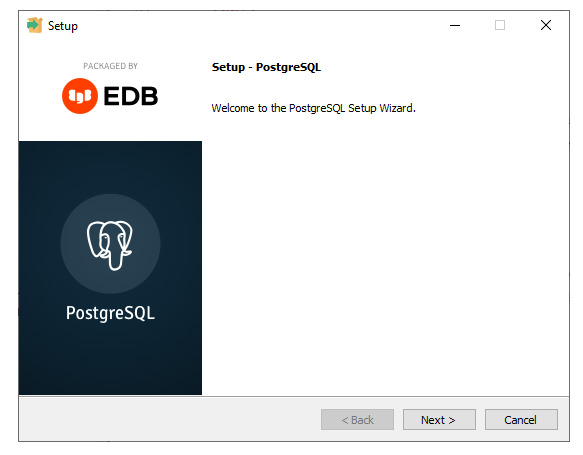
Step 6. The PostgreSQL Setup wizard will start as mentioned below.
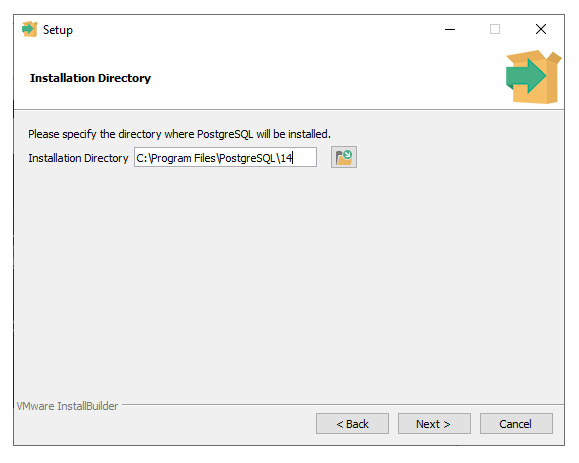
Step 7. Now select the installation directory to proceed with the installation.
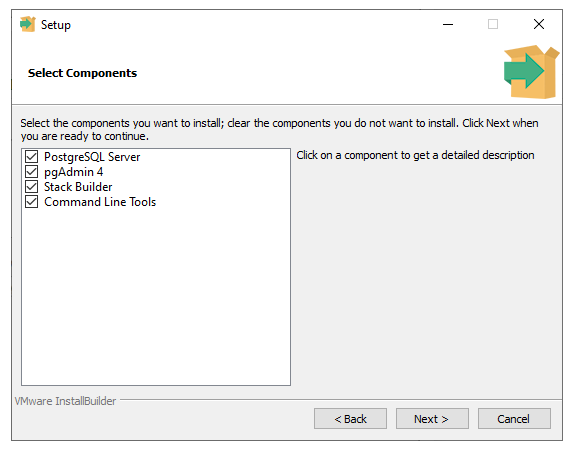
Step 8. Select all components from the list and click on next to proceed.
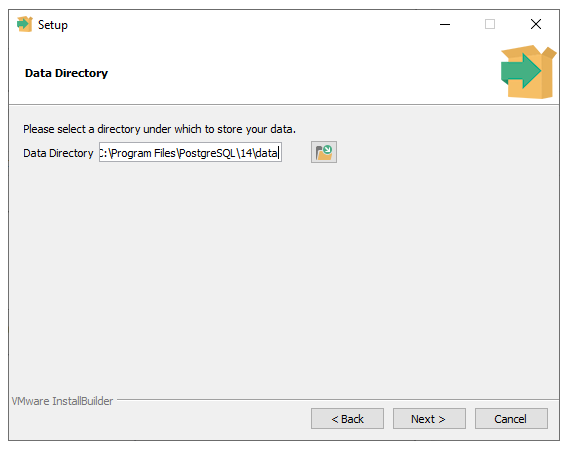
Step 9. Select the location for Data Directory and click on next.
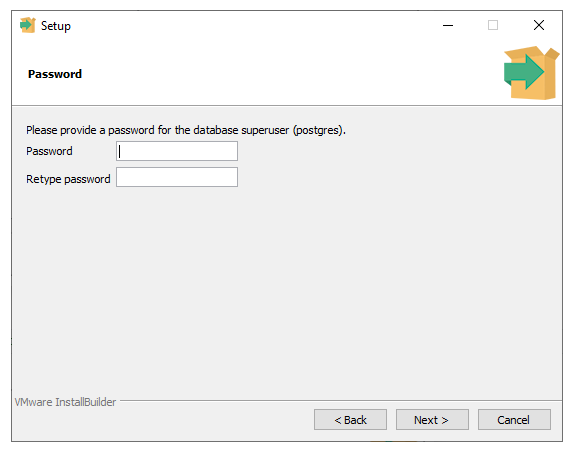
Step 10. Now please enter the password of database superuser postgres and click on next.
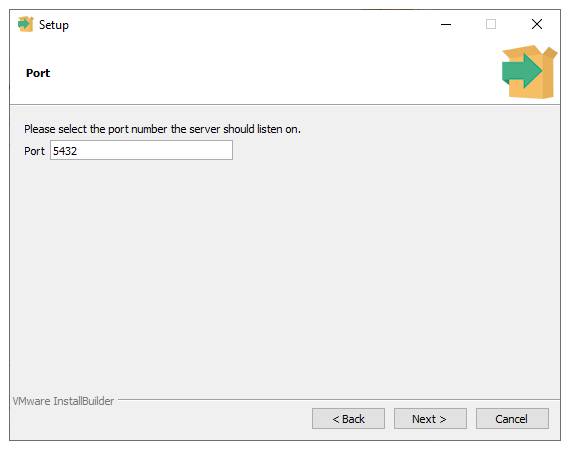
Step 11. PostgreSQL default port is 5432. so leave it as it is and click on next.
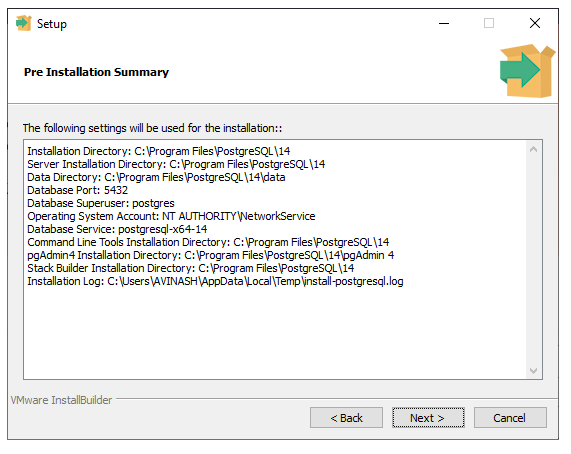
Step 12. PostgreSQL wizard will show the settings that will be used for the installation in the below figure. Click on the next to proceed further.
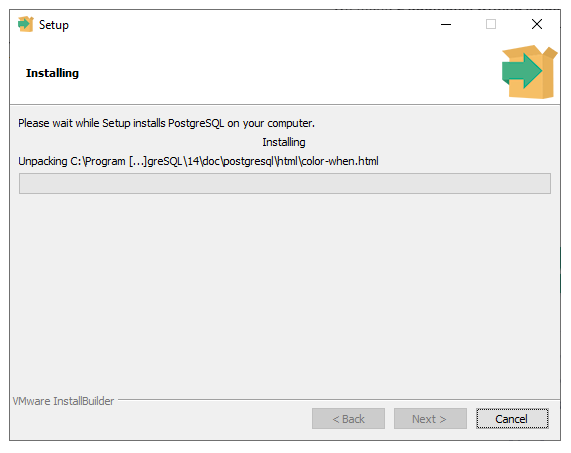
Step 13.PostgreSQL wizard will start the installation as mentioned in the below figure.
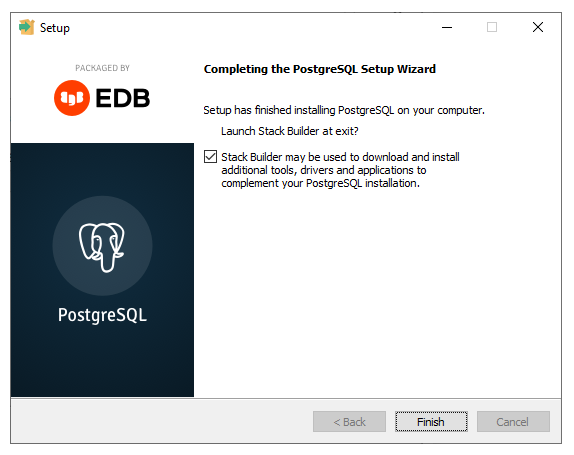
Step 14.Once the PostgreSQL installation is complete on Windows, we will receive the following window.
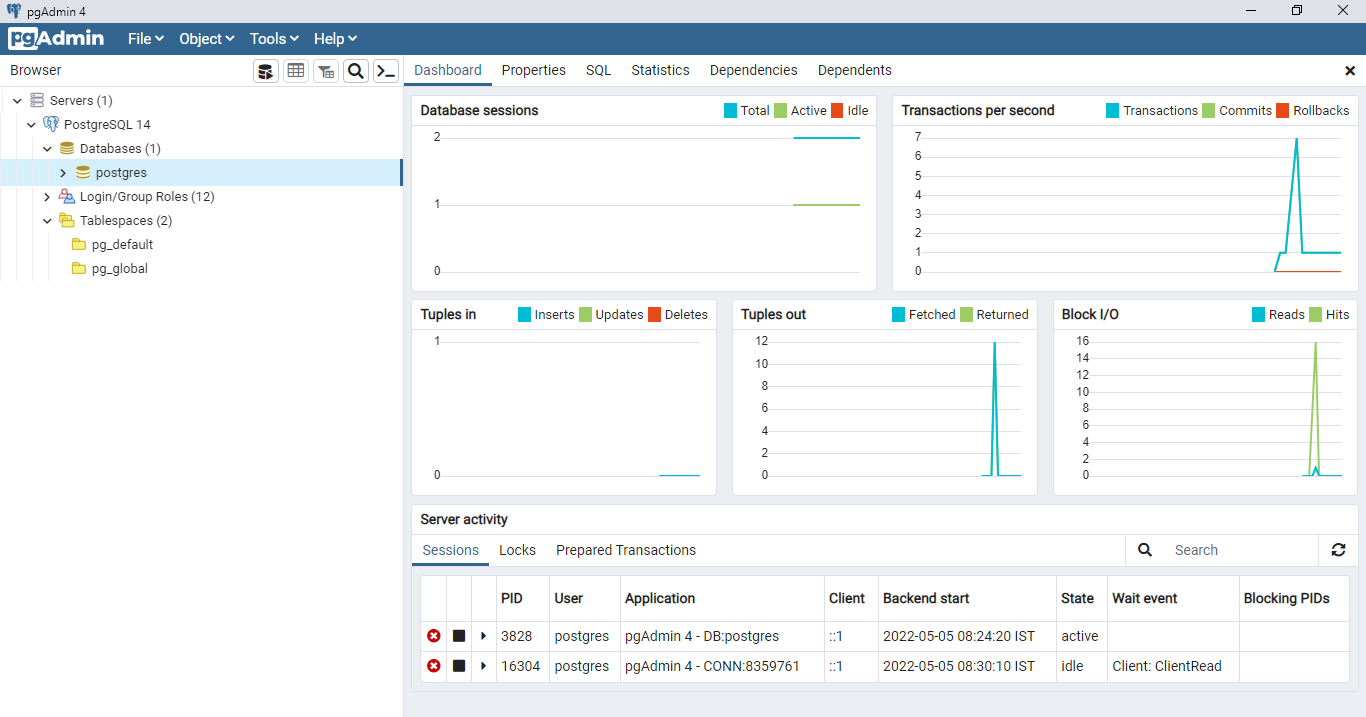
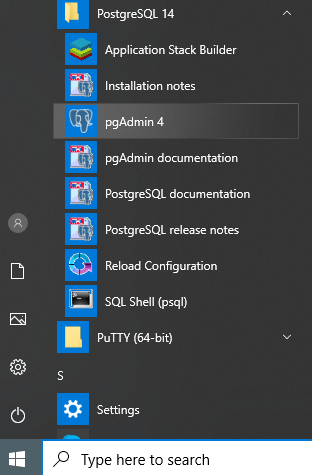
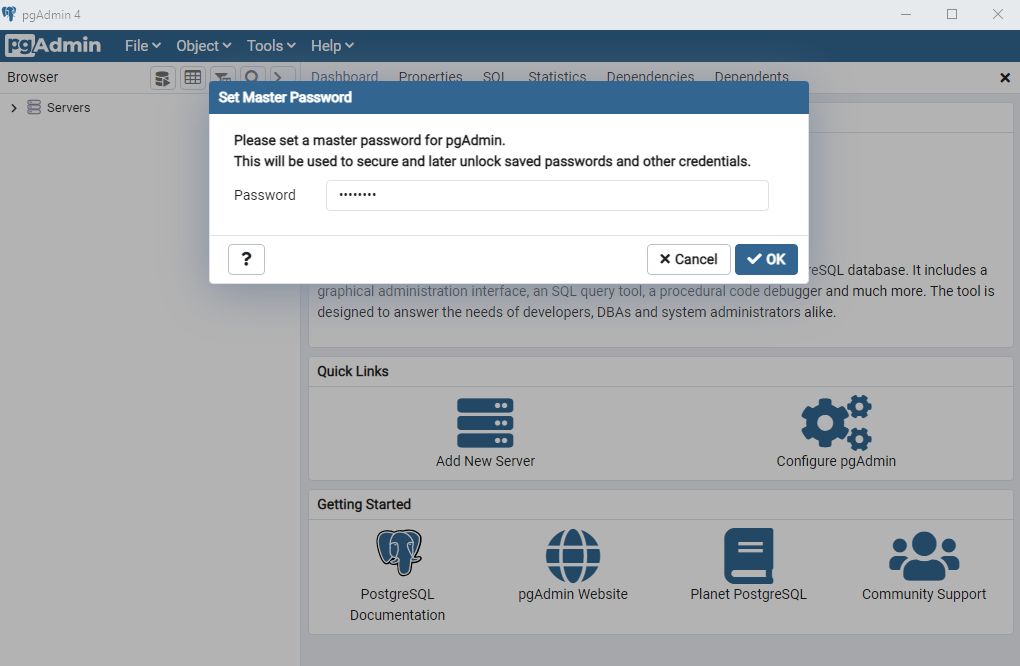
Step 15.Now go to Windows Start and select the PostgreSQL 14 and select the pgAdmin 4. Enter the password that we put during installation to check the connectivity.
Step 16. We can see the database cluster is up and running, the Dashboard is showing different parameters of the database such as database sessions, transactions per second, Block I/O, and so on.