Apache Pig is an analytical tool that is used to perform analysis on datasets that are stored in the Hadoop file system (HDFS).
In this tutorial, we will see how to load data into the Hadoop file system (HDFS) and from HDFS how to load a dataset in Pig Latin for processing using the LOAD operator.
Load Operation
LOAD operator is used to loading data from HDFS/local file system into Apache Pig.
Syntax:
grunt> LOAD 'data' [USING function] [AS schema];
- 'data': It represents the name of the file or directory in single quotes. If we mention a directory name then all the files in the directory are loaded.
- USING Keyword: Define a function here otherwise by default PigStorage function will be
used.
- AS schema: Schema is used to define the structure of the dataset such as column name and its data type.
Let us see step by step process to load data from the local system to Hadoop HDFS and then from Hadoop HDFS to Pig.
Step. 1: To perform this activity we have below employee datasets which are comma-delimited.
    1001,James,Butt,New Orleans,Orleans
    1002,Josephine,Darakjy,Brighton,Livingston
    1003,Art,Venere,Bridgeport,Gloucester
    1004,Lenna,Paprocki,Anchorage,Anchorage
    1005,Donette,Foller,Hamilton,Butler
    1006,Simona,Morasca,Ashland,Ashland
    1007,Mitsue,Tollner,Chicago,Cook
    1008,Leota,Dilliard,San Jose,Santa
    1009,Sage,Wieser,Sioux Falls,Minnehaha
    1010,Kris,Marrier,Baltimore,Baltimore
    1011,Minna,Amigon,Kulpsville,Montgomery
    1012,Abel,Maclead,Phoenix,Suffolk
    1013,Gladys,Rim,Taylor,Wayne
    1014,Yuki,Whobrey,Rockford,Winnebago
    1015,Fletcher,Flosi,Aston,Delaware
    1016,Bette,Nicka,San Jose,Santa Clara
    1017,Veronika,Inouye,Irving,Dallas
    1018,Willard,Kolmetz,Albany,Albany
    1019,Maryann,Royster,Middlesex,Middlesex
Step. 2: We will create an “employee.txt” file in our local system and put this data.
Command:
cloudduggu@ubuntu:~/pig/tutorial$ nano employee.txt
Output:
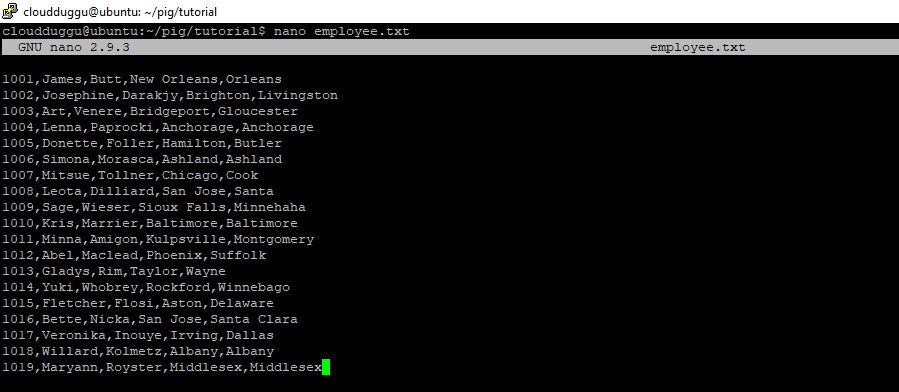
To save the file press CTRL+O and to exit from the editor press CTRL+X.
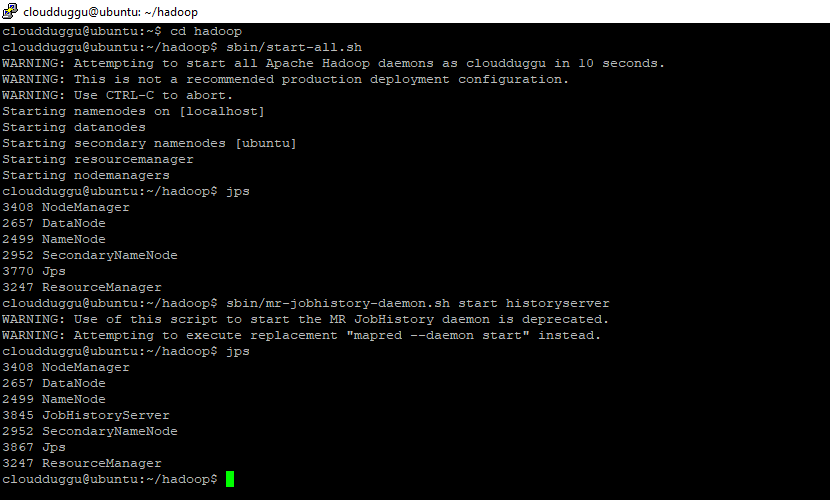
Step. 3: Now we will start Hadoop services from sbin directory and verify services using the JPS command.
Command:
cloudduggu@ubuntu:~/hadoop$ sbin/start-all.sh
cloudduggu@ubuntu:~/hadoop$ jps
cloudduggu@ubuntu:~/hadoop$ sbin/mr-jobhistory-daemon.sh start historyserver
Output:
Step. 4: We will create a directory named “pigexample” in HDFS and place “employee.txt”
data under it.
Command:
cloudduggu@ubuntu:~/hadoop$ hadoop fs -mkdir /pigexample
cloudduggu@ubuntu:~/hadoop$ hadoop fs -copyFromLocal /home/cloudduggu/pig/tutorial/employee.txt /pigexample/
cloudduggu@ubuntu:~/hadoop$ hadoop fs -ls /pigexample/
Output:

Step. 5: After this, we will start the Pig Grunt shell in MapReduce mode.
Command:
cloudduggu@ubuntu:~/pig$ pig -x mapreduce
Output:

Step. 6: Now load the file “employee.txt” into Pig using the below statements.
Command:
grunt> employees = LOAD
'/pigexample/employee.txt' USING PigStorage
(',') as
(emp_id:int,
first_name:chararray,last_name:
chararray, city:chararray
,county:chararray )
;
Output:

Store Operation
Step. 4: We will create a directory named “pigexample” in HDFS and place “employee.txt” data under it.
Command:
cloudduggu@ubuntu:~/hadoop$ hadoop fs -mkdir /pigexample
cloudduggu@ubuntu:~/hadoop$ hadoop fs -copyFromLocal /home/cloudduggu/pig/tutorial/employee.txt /pigexample/
cloudduggu@ubuntu:~/hadoop$ hadoop fs -ls /pigexample/
Output:
Step. 5: After this, we will start the Pig Grunt shell in MapReduce mode.
Command:
cloudduggu@ubuntu:~/pig$ pig -x mapreduce
Output:
Step. 6: Now load the file “employee.txt” into Pig using the below statements.
Command:
grunt> employees = LOAD
'/pigexample/employee.txt' USING PigStorage
(',') as
(emp_id:int,
first_name:chararray,last_name:
chararray, city:chararray
,county:chararray )
;
Output:
Store Operation
Step. 6: Now load the file “employee.txt” into Pig using the below statements.
Command:
grunt> employees = LOAD
'/pigexample/employee.txt' USING PigStorage
(',') as
(emp_id:int,
first_name:chararray,last_name:
chararray, city:chararray
,county:chararray )
;
Output:
Store Operation
Store Operation
Store operator is used to storing the result set of Pig Latin on Hadoop HDFS or a local file system.
Syntax:
grunt> STORE alias INTO 'directory' [USING function];
- alias This represents the name of the relation.
- INTO 'directory' This represents the name of the storage directory where the result set will be
copied.
- USING function You can use Store functions such as BinStorage for the machine-readable format, JsonLoader for JSON data, if these functions are not used then the PigStorage Store function will be used as a default function.
We will Load the “employee.txt” file from HDFS to Pig and then we will store the result set of Pig Latin on HDFS ‘/pigexample/’ location.
Let us see this process using the below steps.
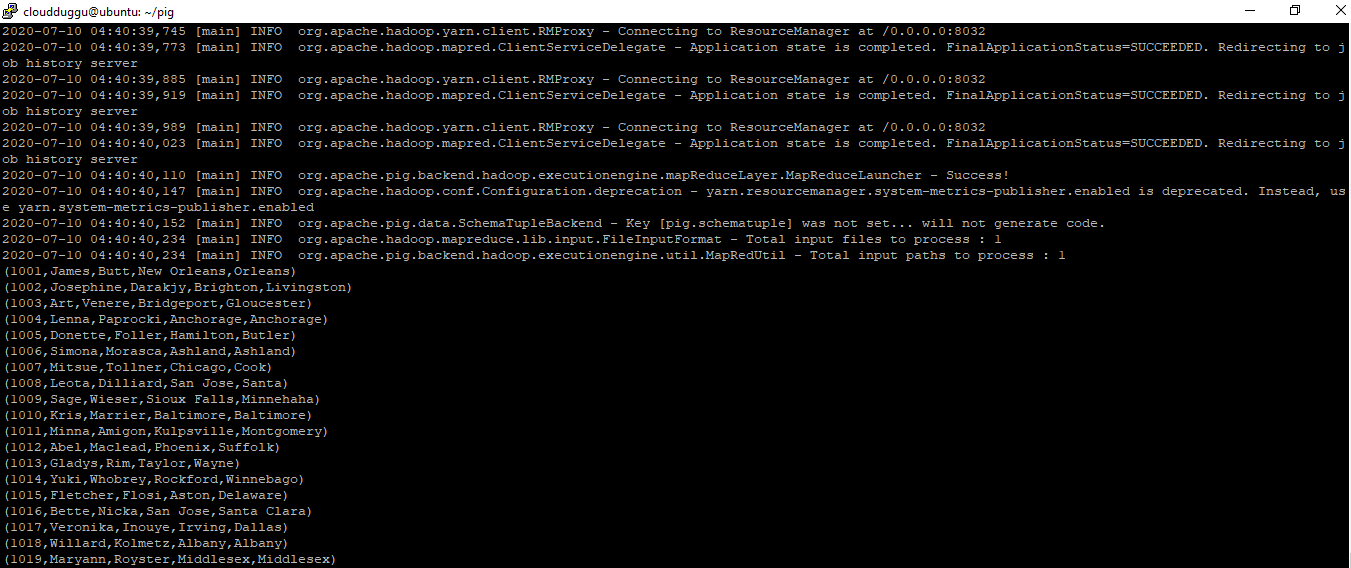
Step. 1: Load the file “employee.txt” into Pig from HDFS using the below statements and verify the output using the DUMP operator.
Command:
grunt> employees = LOAD '/pigexample/employee.txt' USING PigStorage(',') as (empid:int,firstname:chararray,lastname:chararray,city:chararray,county:chararray );
grunt> dump employees
Output:
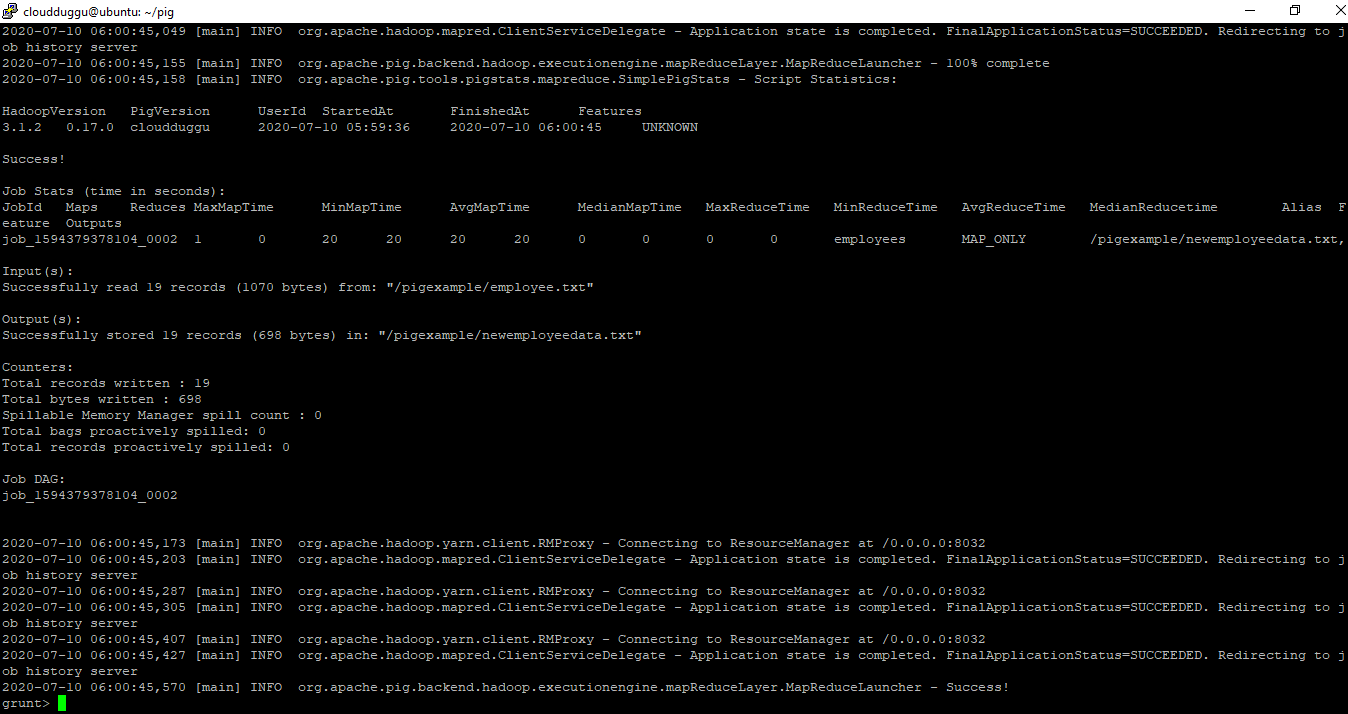
Step. 2: Now we will store the resultset of the Pig Latin command using the STORE operator in “/pigexample/newemployeedata.txt” of HDFS.
Command:
grunt> STORE employees INTO '/pigexample/newemployeedata.txt' USING PigStorage (',');
Output:
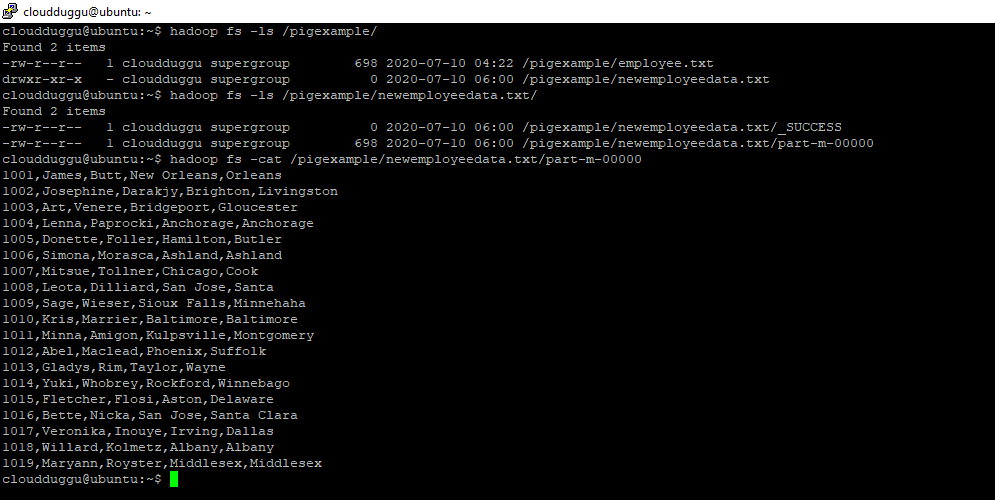
Step. 3: Now verify this location ‘/pigexample/newemployeedata.txt/’ in HDFS to make sure that data is stored. You will see result set file is created with the name “part-m-00000” under the “/pigexample/newemployeedata.txt/” directory. Now cat that file to see if the same data is there or not.
Command:
cloudduggu@ubuntu:~$ hadoop fs -ls /pigexample/
cloudduggu@ubuntu:~$ hadoop fs -ls /pigexample/newemployeedata.txt/
cloudduggu@ubuntu:~$ hadoop fs -cat /pigexample/newemployeedata.txt/part-m-00000
Output:
Step. 2: Now we will store the resultset of the Pig Latin command using the STORE operator in “/pigexample/newemployeedata.txt” of HDFS.
Command:
grunt> STORE employees INTO '/pigexample/newemployeedata.txt' USING PigStorage (',');
Output:
Step. 3: Now verify this location ‘/pigexample/newemployeedata.txt/’ in HDFS to make sure that data is stored. You will see result set file is created with the name “part-m-00000” under the “/pigexample/newemployeedata.txt/” directory. Now cat that file to see if the same data is there or not.
Command:
cloudduggu@ubuntu:~$ hadoop fs -ls /pigexample/
cloudduggu@ubuntu:~$ hadoop fs -ls /pigexample/newemployeedata.txt/
cloudduggu@ubuntu:~$ hadoop fs -cat /pigexample/newemployeedata.txt/part-m-00000
Output: