What is Apache Solr Core?
Apache Solr core is termed a single running index that includes all the associated Solr configuration files and transaction log to use it. We can create multiple cores based on the requirement which has a different data structure and index it, this provides us more control on data presented to the auditions.
We can create core using the bin/solr script or from the web interface of Apache Solr. In the following section, we will create the Apache Solr core using bin/solr script and using Solr GUI.
Creating a Solr Core Using Create Command
We can create Apache Solr core from the command prompt using the create -c and create_core -c followed by the name of the core.
We will create a sample core name "Solr_sample_core" using the below create command. Before running the create command make sure Solr is started and running fine otherwise, this error message will be shown "Failed to determine the port of a local Solr instance, cannot create Solr_sample_core!".
Command:
cloudduggu@ubuntu:~/hadoop/solr-8.8.1$ ./bin/solr startcloudduggu@ubuntu:~/hadoop/solr-8.8.1$ ./bin/solr create -c Solr_sample_core
Output:
In the following output, we can see command execution.


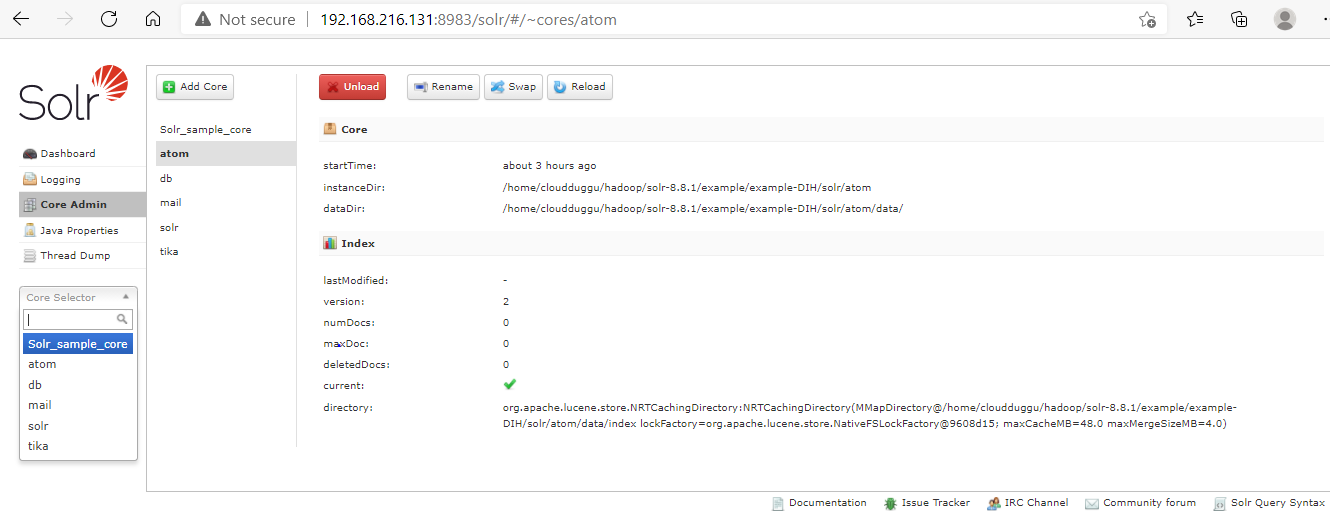
We can verify the newly created Solr core from the Core Selector portion of the Sole Admin console.

Verifying Solr Core Using Status Command
We can use the status command followed by the core name to verify the newly create Solr core.
Command:
cloudduggu@ubuntu:~/hadoop/solr-8.8.1$ ./bin/solr status Solr_sample_coreOutput:
We can see that the Solr core has been created with the following detail displayed in the below output.

Deleting a Solr Core Using Create Command
We can delete the already created Solr core using the "delete" command followed by the name of Core.
Command:
cloudduggu@ubuntu:~/hadoop/solr-8.8.1$ ./bin/solr delete -c Solr_sample_coreOutput:
We can see the following output once the command is executed successfully.

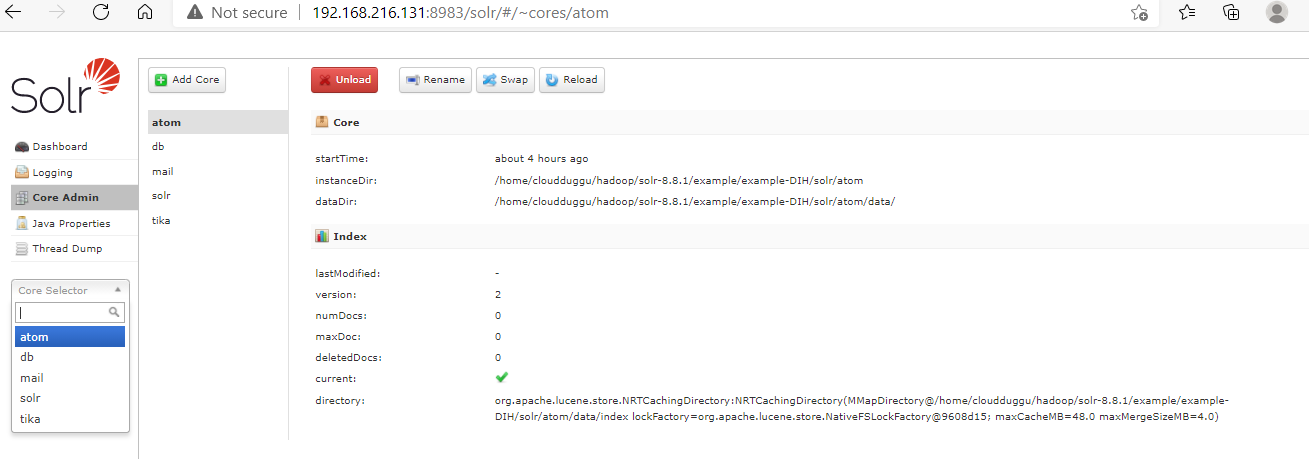
We can verify the same from the Sole web interface. We can see the "Solr_sample_core" core is deleted.


