MongoDB Atlas is the Cloud database solution that provides an easy way of hosting and data management on the Cloud. In this tutorial, we will go through the step-by-step process to create the MongoDB Atlas free tier on the AWS cloud solution, post that we will connect to the MongoDB Atlas cluster and insert some data into it and perform some queries.
Steps to Deploy a Free Tier MongoDB Atlas Cluster
Please follow the below steps to deploy a free Tier of MongoDB Atlas Cluster.
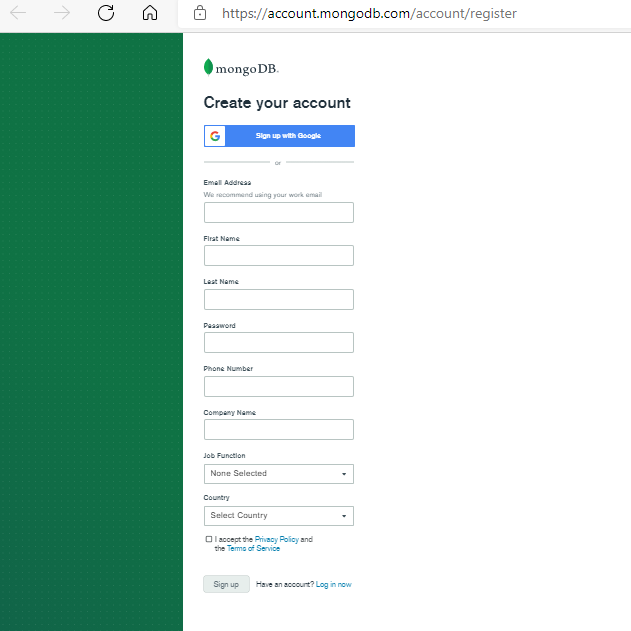
Step 1. Please create an Atlas Account either through the Google account or using your email ID. Use the below MongoDB account creation link to perform this activity.
URL: https://account.mongodb.com/account/register
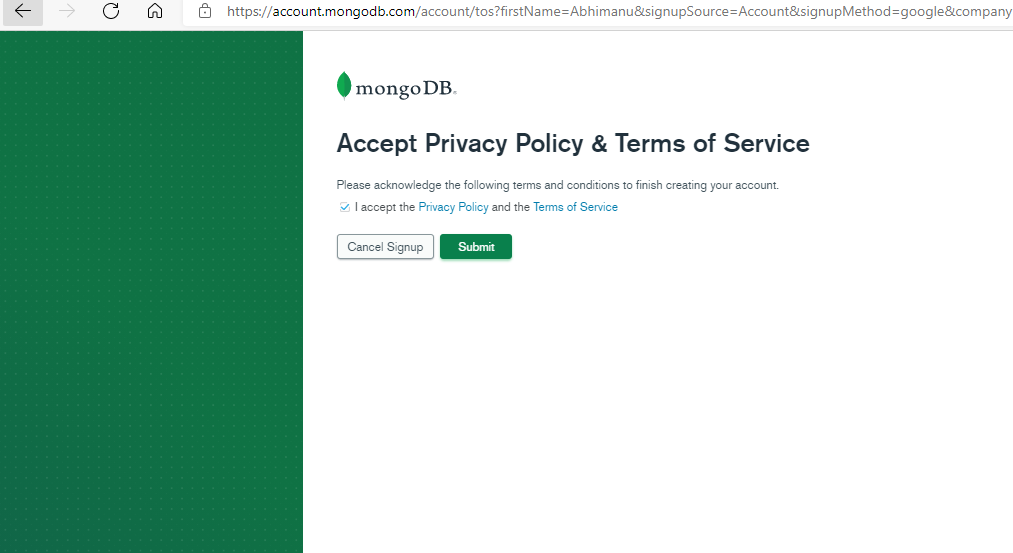
Please click on the submit button to continue.
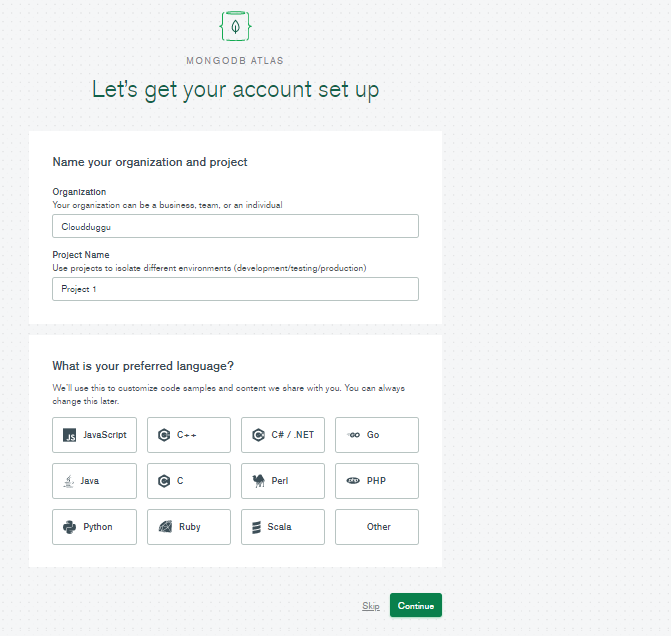
Step 2. Now provide the Atlas Organization name (in our case we have mentioned Cloudduggu) and provide the project name as well in which the first Atlas Cluster will be deployed and click on the continue button.
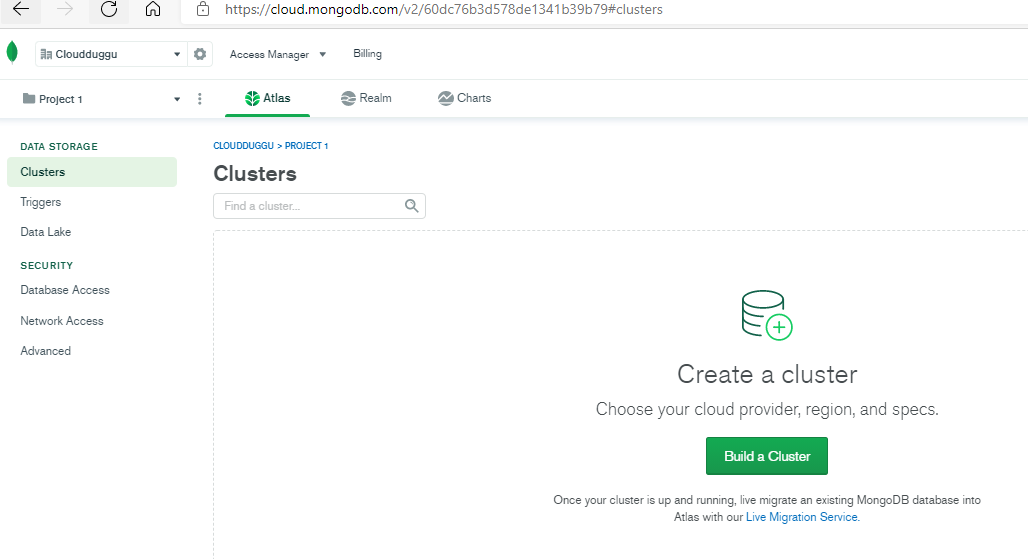
Step 3. The following page will show an option to build a cluster. Now click on Build a Cluster to continue.
Step 4. Select the Shared Cluster Free Version and click on Create a Cluster button.
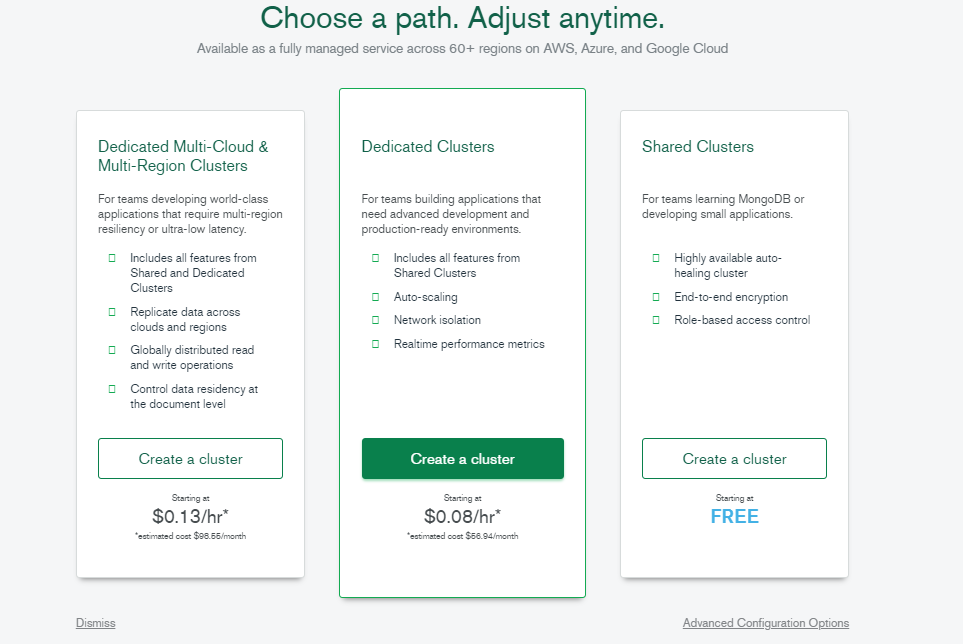
Step 5. Now select the preferred Cloud Provider & Region. MongoDB Atlas provides support for M0 Free Tier clusters on Amazon Web Services (AWS), Google Cloud Platform (GCP), and Microsoft Azure and click on the Create Cluster button.
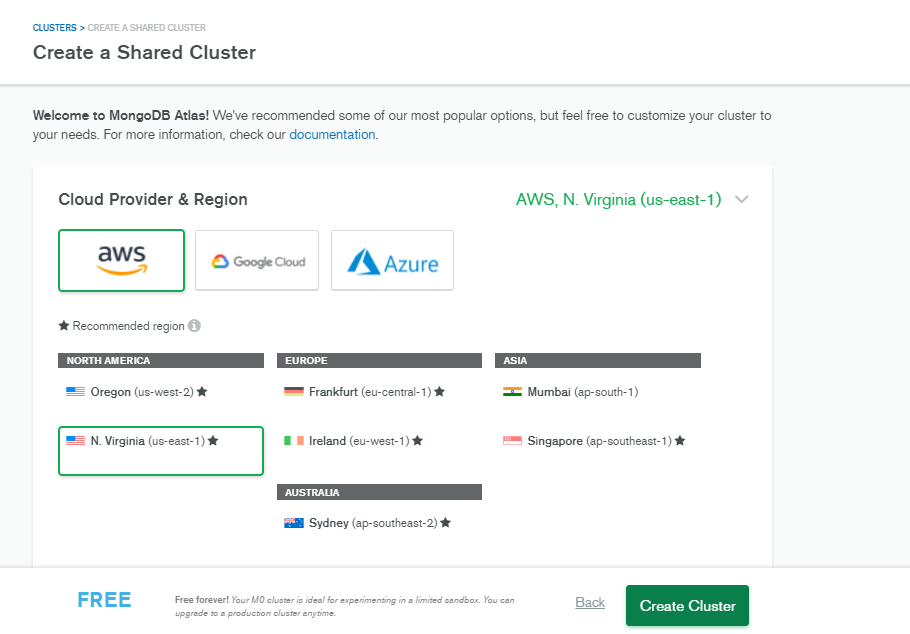
It will take a couple of minutes after that the MongoDB Atlas cluster will be ready for connection.
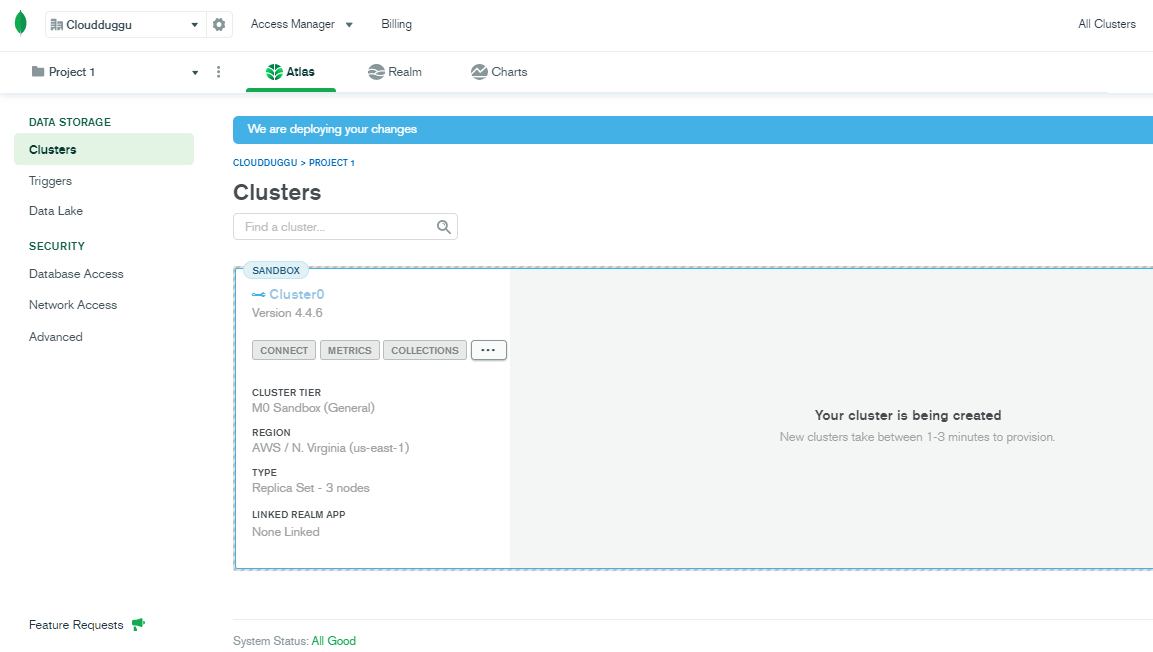
Step 6. Click on the Connect button that will pop up a window to add the Your Current IP Address.
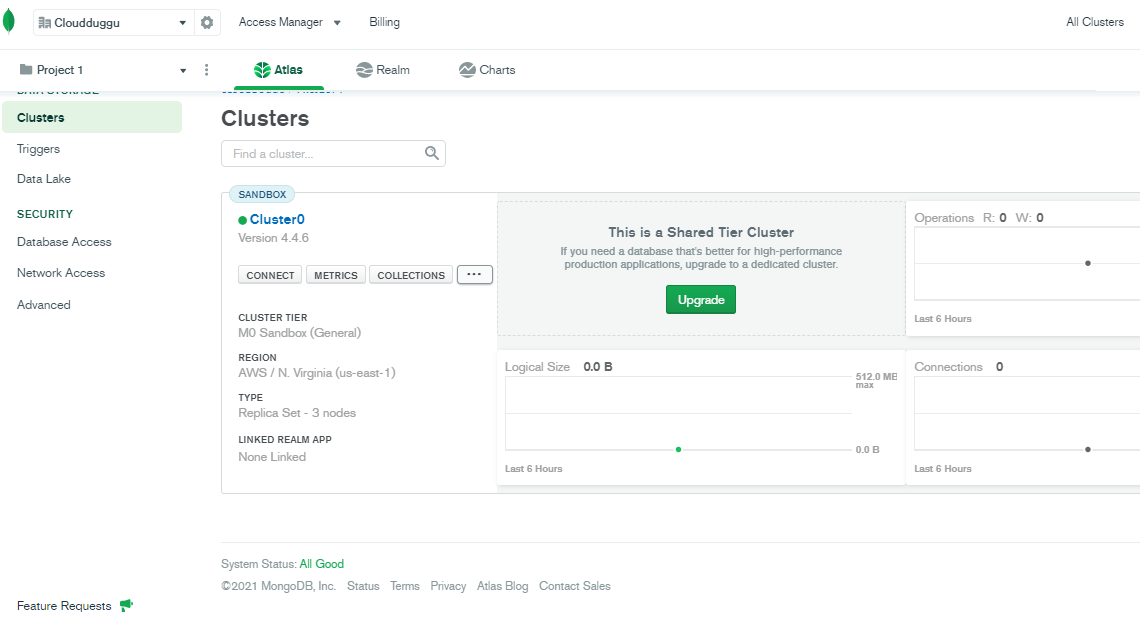
Step 7. Click on the Connect button that will pop up a window to add the Your Current IP Address.
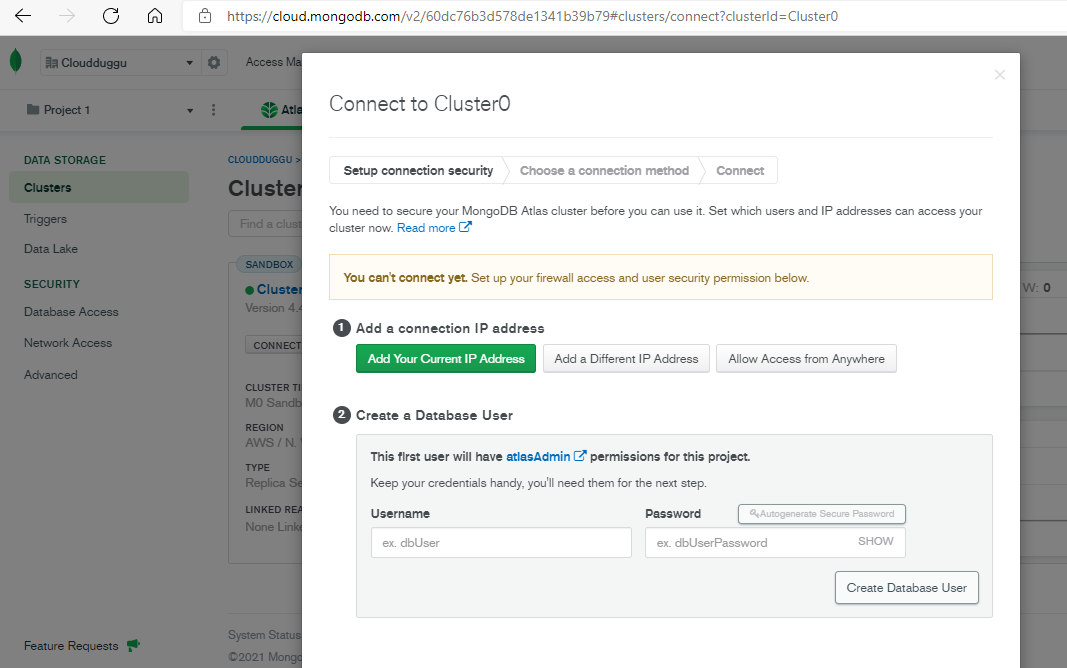
If the IP address is already populated by MongoDB then leave it and click on the Add IP Address button.
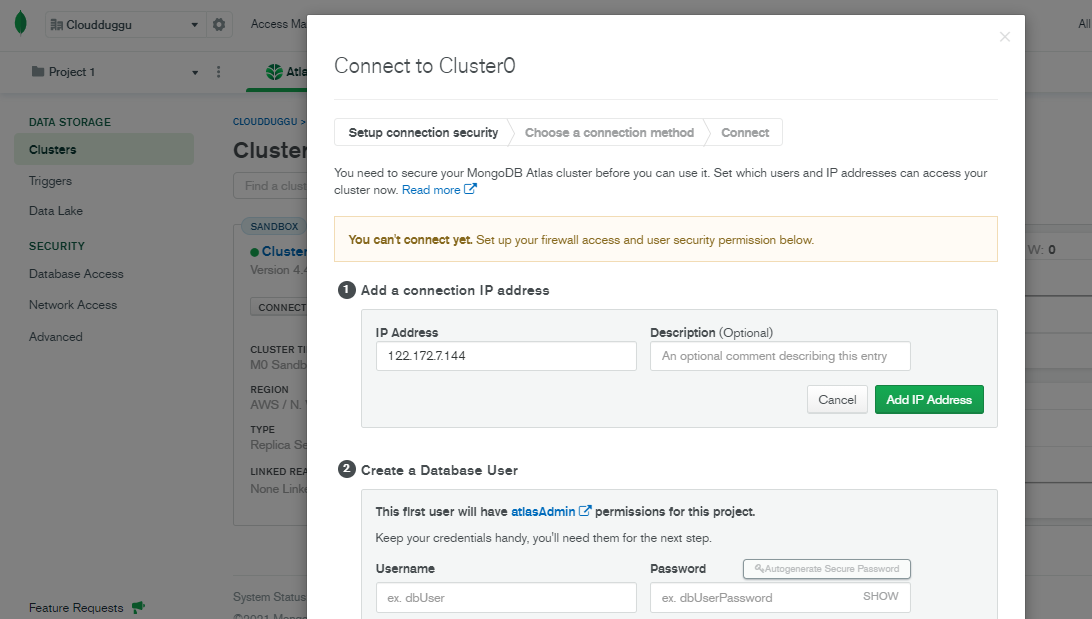
After clicking on the Add IP Address button the IP addition process is completed.
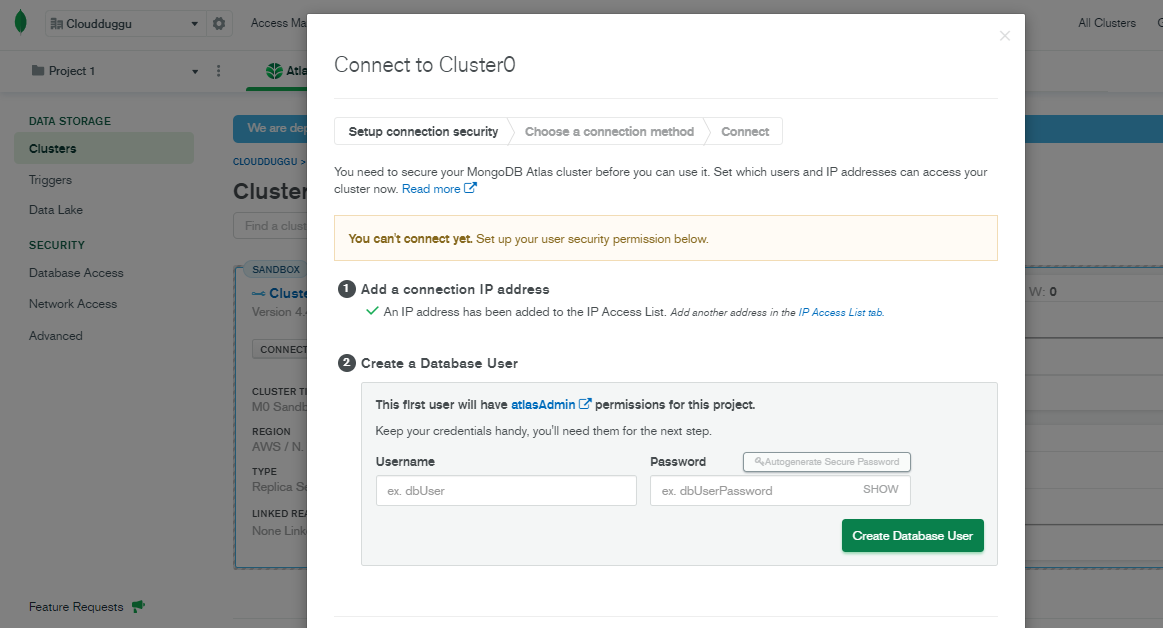
Step 8. Now go on the Create a Database User for creating a user for the cluster and put the username and password. After that click on the Create Database User button to create the user.
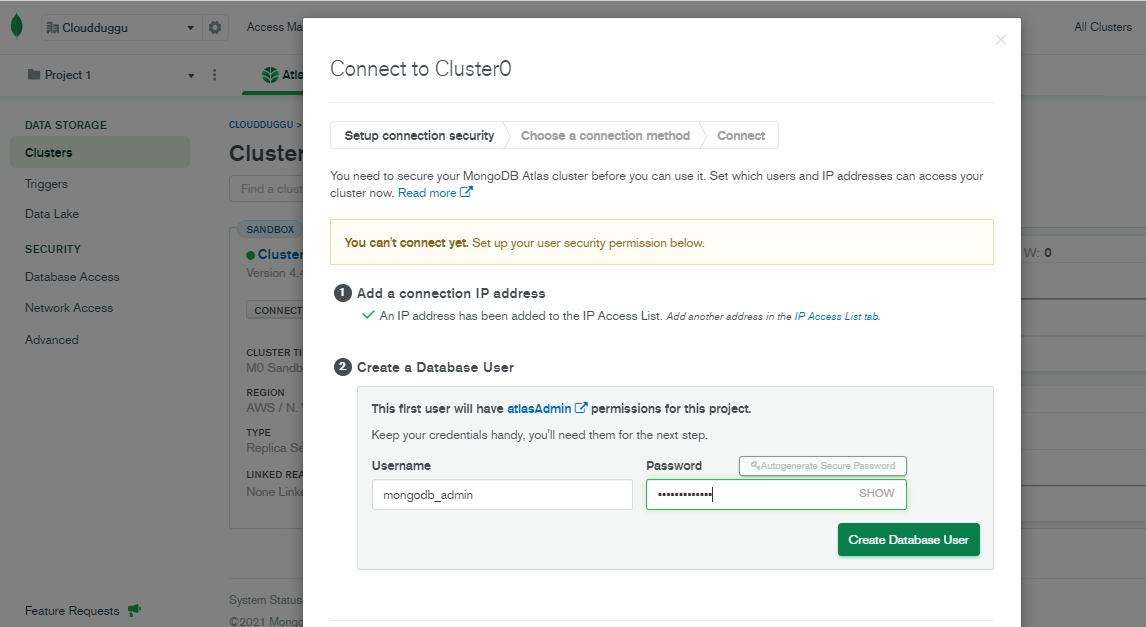
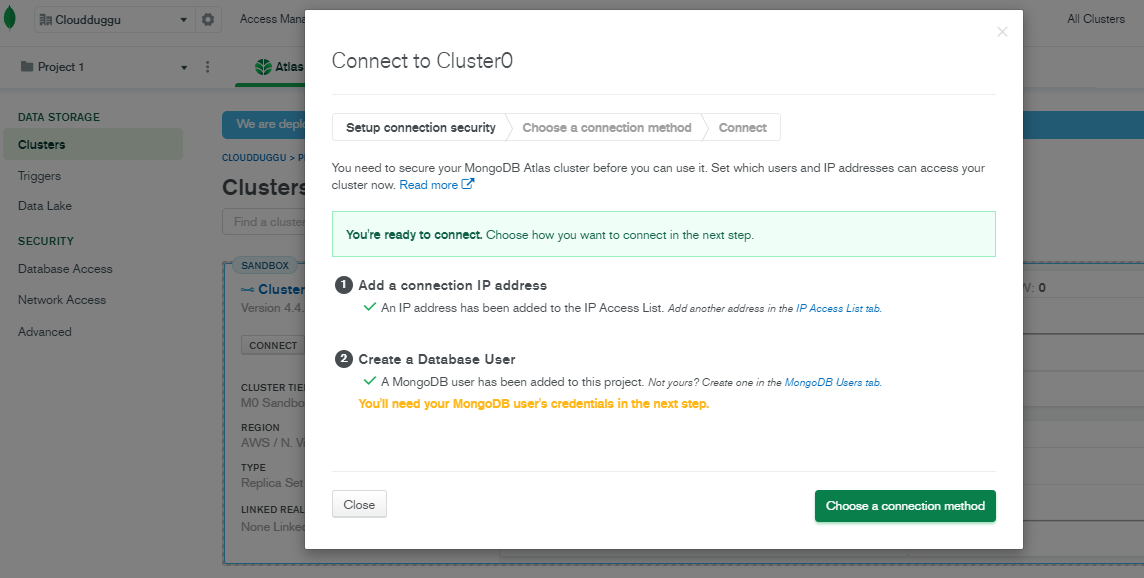
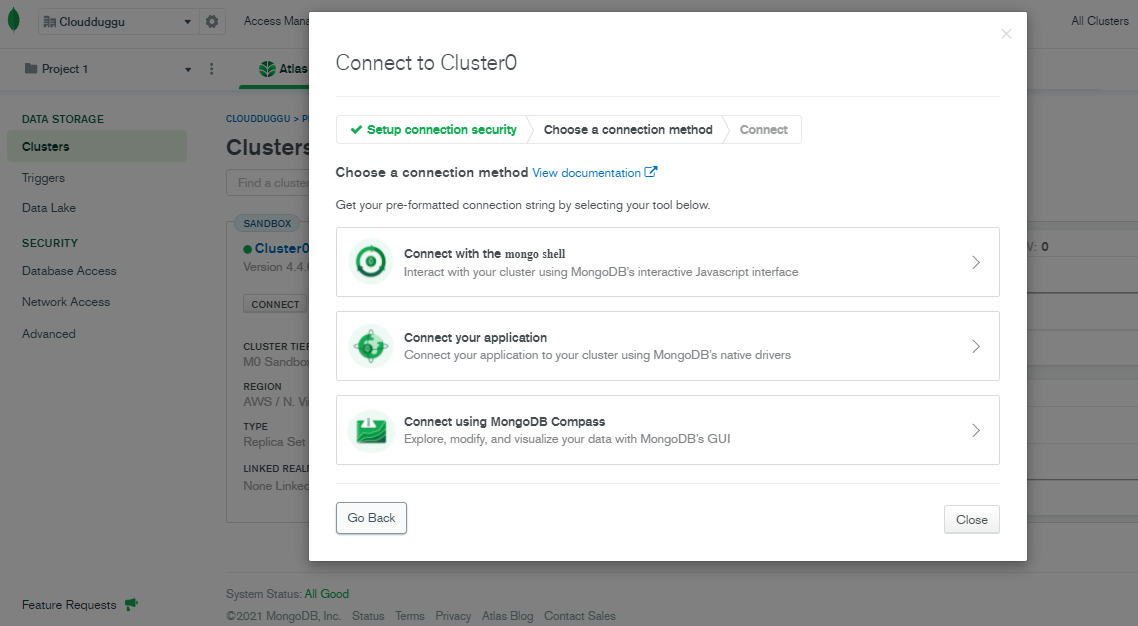
Step 9. Once the IP allocation and the User name are created, the next step is to choose the Connection Method to connect the cluster. MongoDB Atlas offers various connection methods that can be used to connect with Cluster such as Mongo shell, PyMongo driver, Compass, Node.js driver, and so on. We will use the Compass GUI tool to connect MongoDB Atlas Cluster. Click on the Connect using MongoDB Compass tool option to proceed for a MongoDB Atlas Connection method setup.
Step 10. Click on the I don't have MongoDB Compass and select your system operating system from the drop-down. After this, click on the Download Compass Button.
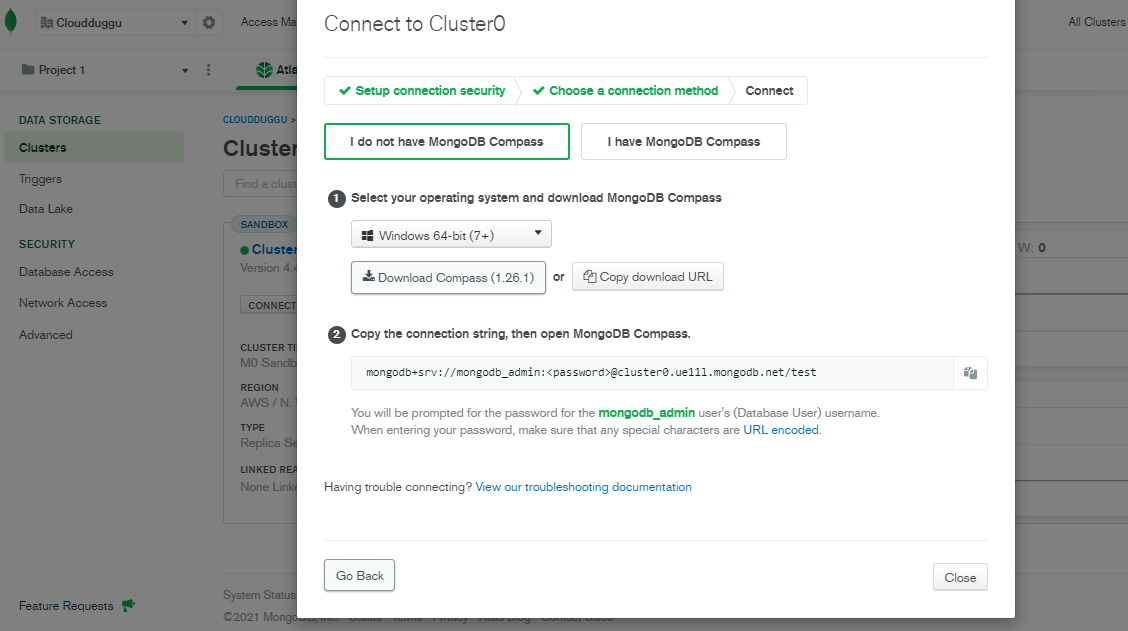
After this, the Compass download will be started on your system. Copy the Connection String that is mentioned in section 2 mongodb+srv://mongodb_admin:password@cluster0.ue11l.mongodb.net/test to make a connection with Compass.
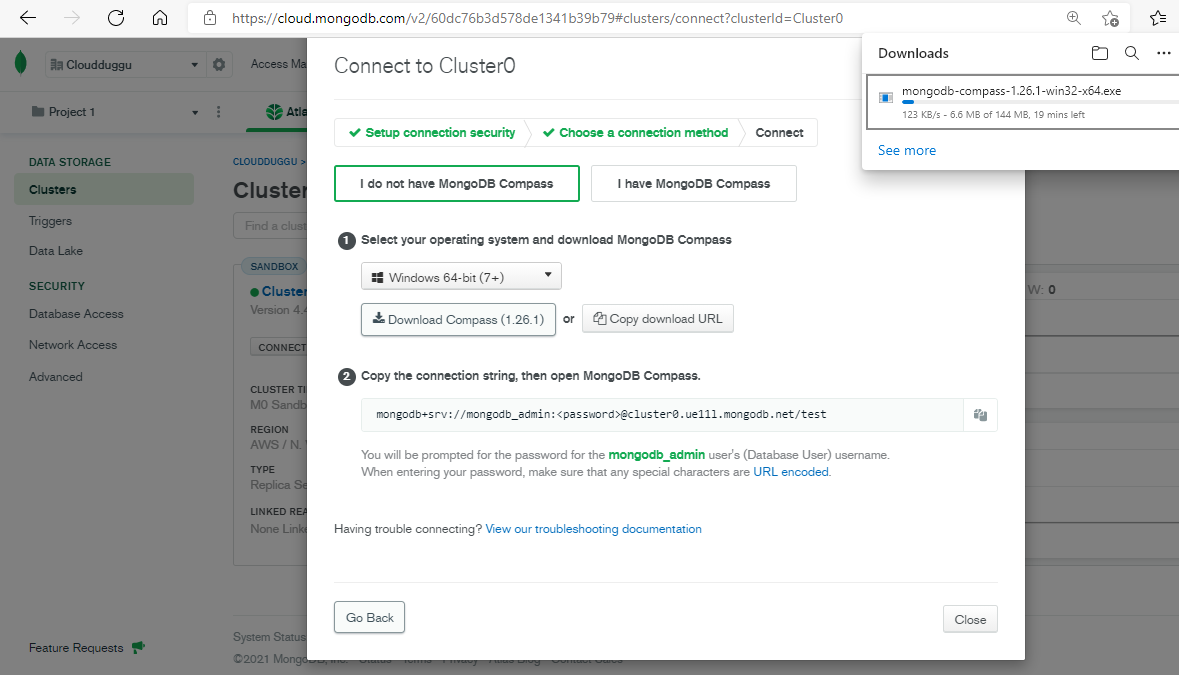
Step 11. Now go to the Compass downloaded folder and start the installation of Compass. It will take a couple of minutes.

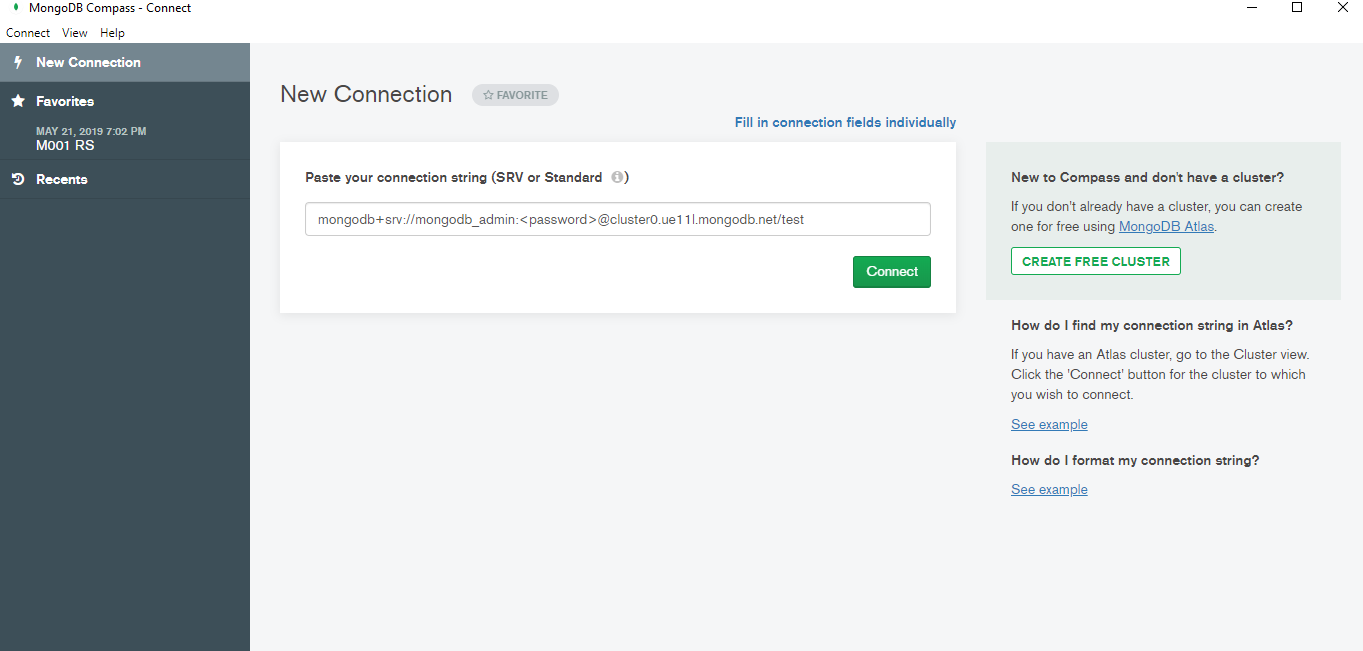
Step 12. Once the installation of Compass is completed. Open the Compass tool and enter the connection string mongodb+srv://mongodb_admin:password@cluster0.ue11l.mongodb.net/test. Please replace the password with your original username password that you created in Create a Database User section.
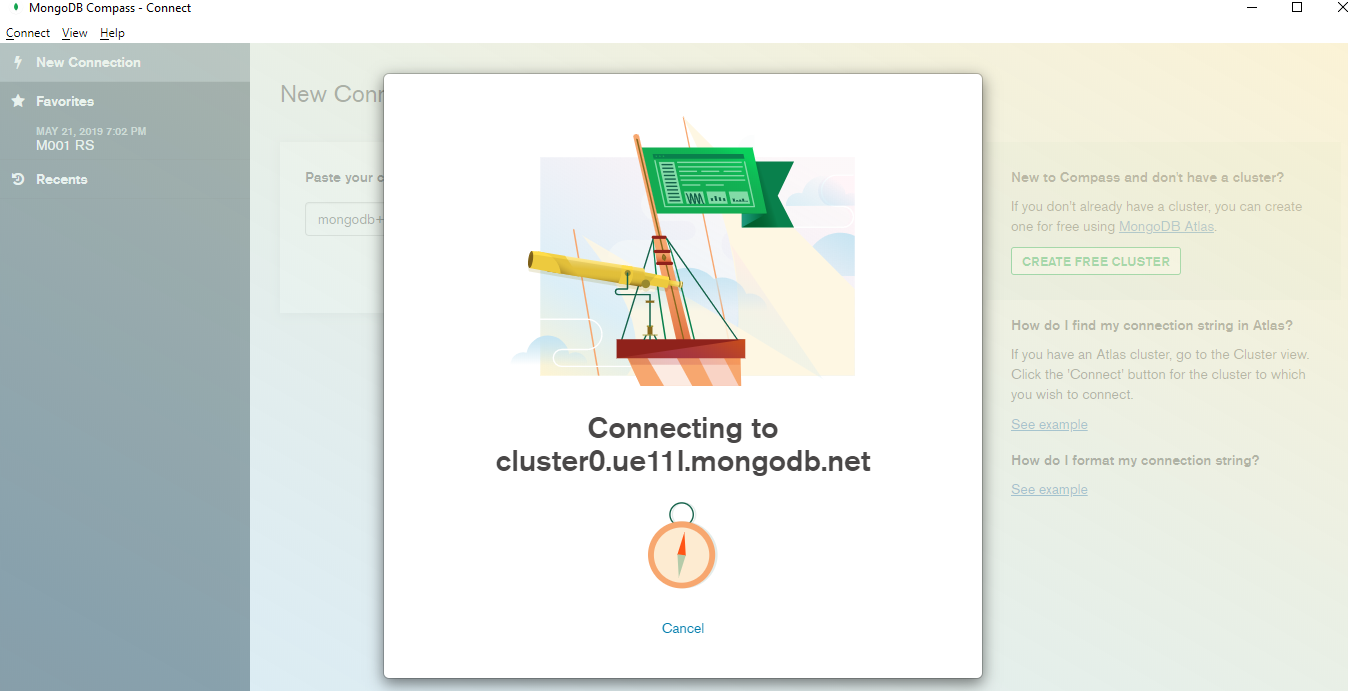
Step 13. Once the Compass is connected with MongoDB Atlas Cluster the following window will open in which we can see that there are three nodes present, and by default, there are three databases present.
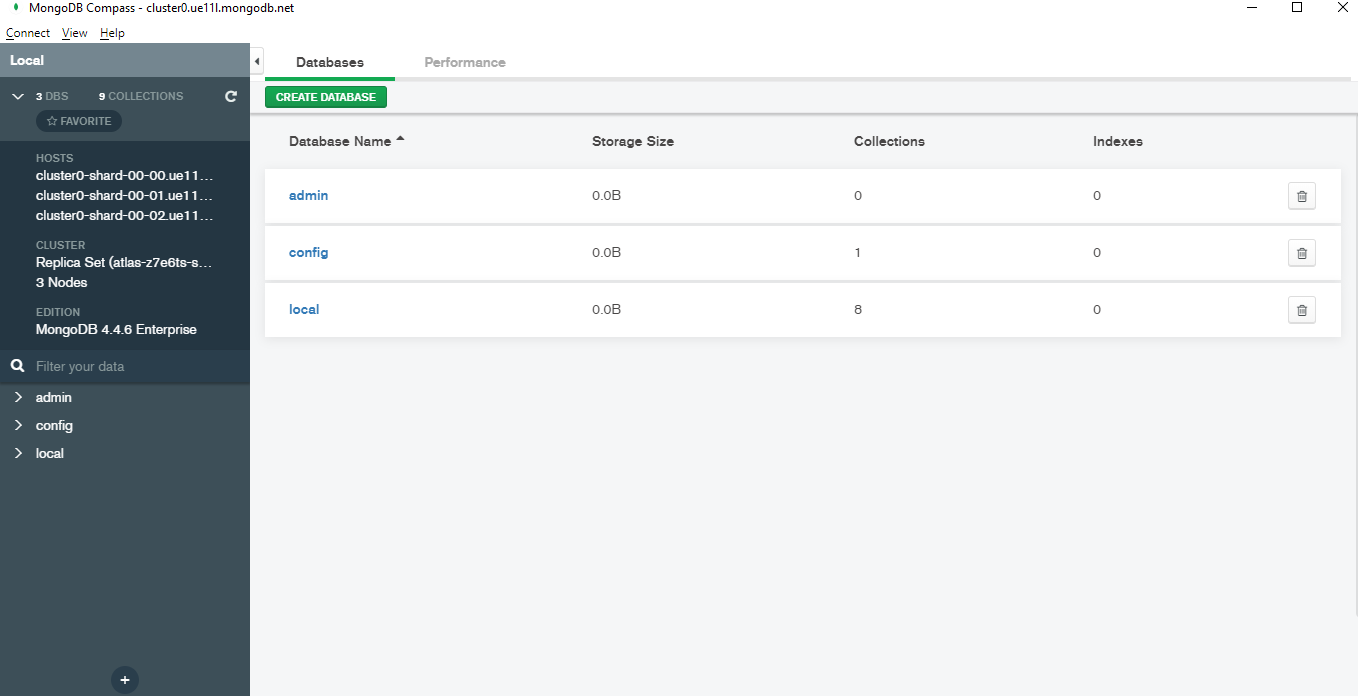
Now you can explore the Compass tool by creating a new Database, Collection, inserting Documents on click event also see the performance of the queries, and many more.
