The objective of this tutorial is to provide the complete installation process of MongoDB Version v4.4.6 on the Ubuntu 18.04.4 LTS (Bionic Beaver) system. although you can use the other versions of Ubuntu as well such as Ubuntu 20.04(Focal) or Ubuntu 16.04(Xenial). Further, We have used the MongoDB community version for installation.
Steps to Install MongoDB Community Edition
We will see the step-by-step process to install the MongoDB community edition version v4.4.6 using the apt package manager.
Step 1. Please use the below command to import MongoDB public GPG Key.
cloudduggu@ubuntu:~$ wget -qO -https://www.mongodb.org/static/pgp/server-4.4.asc | sudo apt-key add -Once the operation is completed then it will respond to OK.

In case the above statement is failing with the error gnupg is not installed then use the below command to install the gnupg and the required libraries.
cloudduggu@ubuntu:~$ sudo apt-get install gnupgStep 2. Now create the list file for /etc/apt/sources.list.d/mongodb-org-4.4.list. Since we are using the Ubuntu 18.04 (Bionic) version so the command would be as below.
cloudduggu@ubuntu:~$ echo "deb [ arch=amd64,arm64 ] https://repo.mongodb.org/apt/ubuntu bionic/mongodb-org/4.4 multiverse" | sudo tee /etc/apt/sources.list.d/mongodb-org-4.4.listStep 3. Update the local database package using the below command.
cloudduggu@ubuntu:~$ sudo apt-get update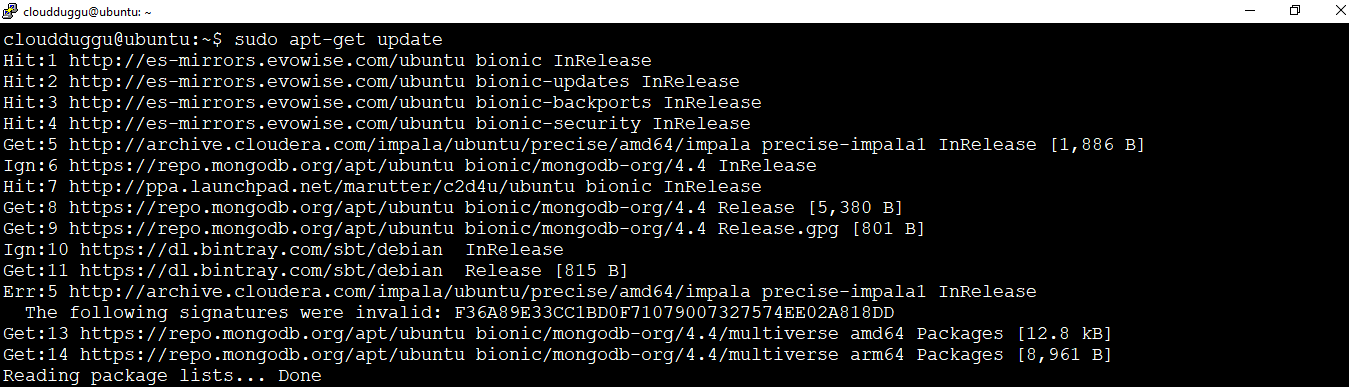
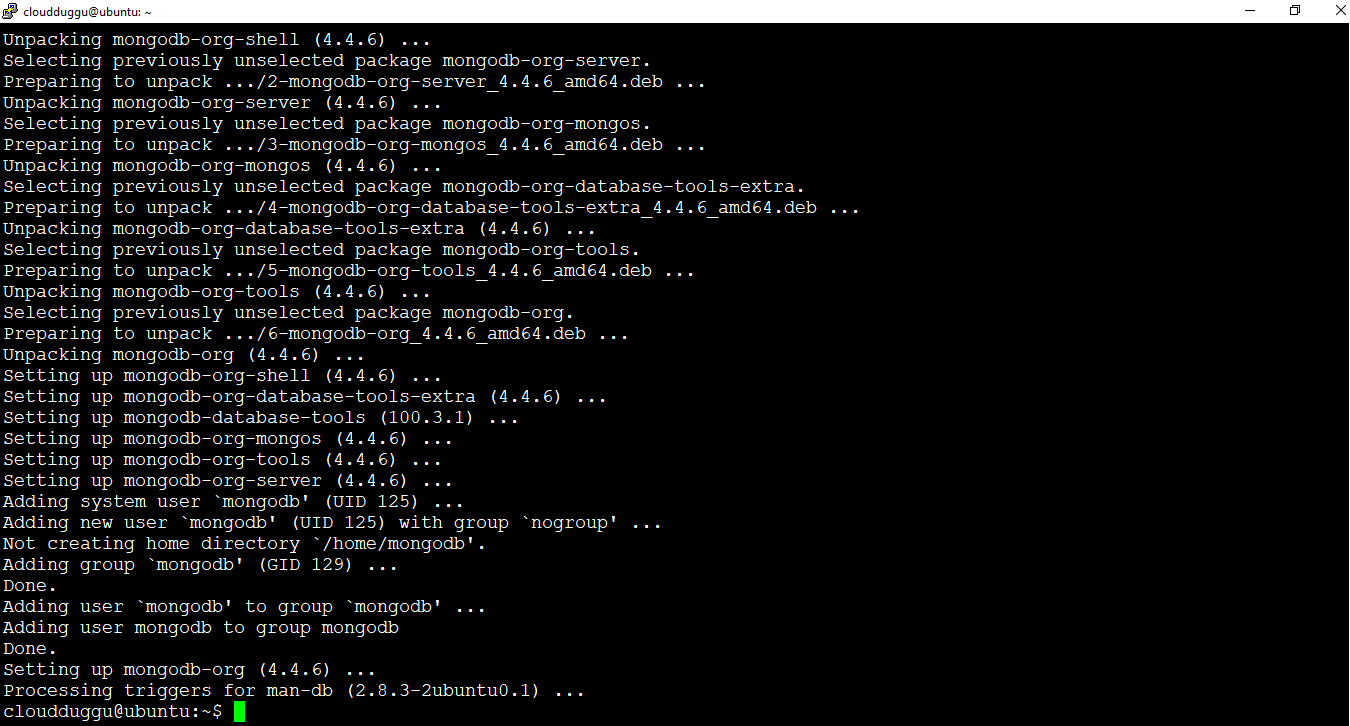
Step 4. Install the MongoDB packages once all the above steps are completed successfully.
cloudduggu@ubuntu:~$ sudo apt-get install -y mongodb-org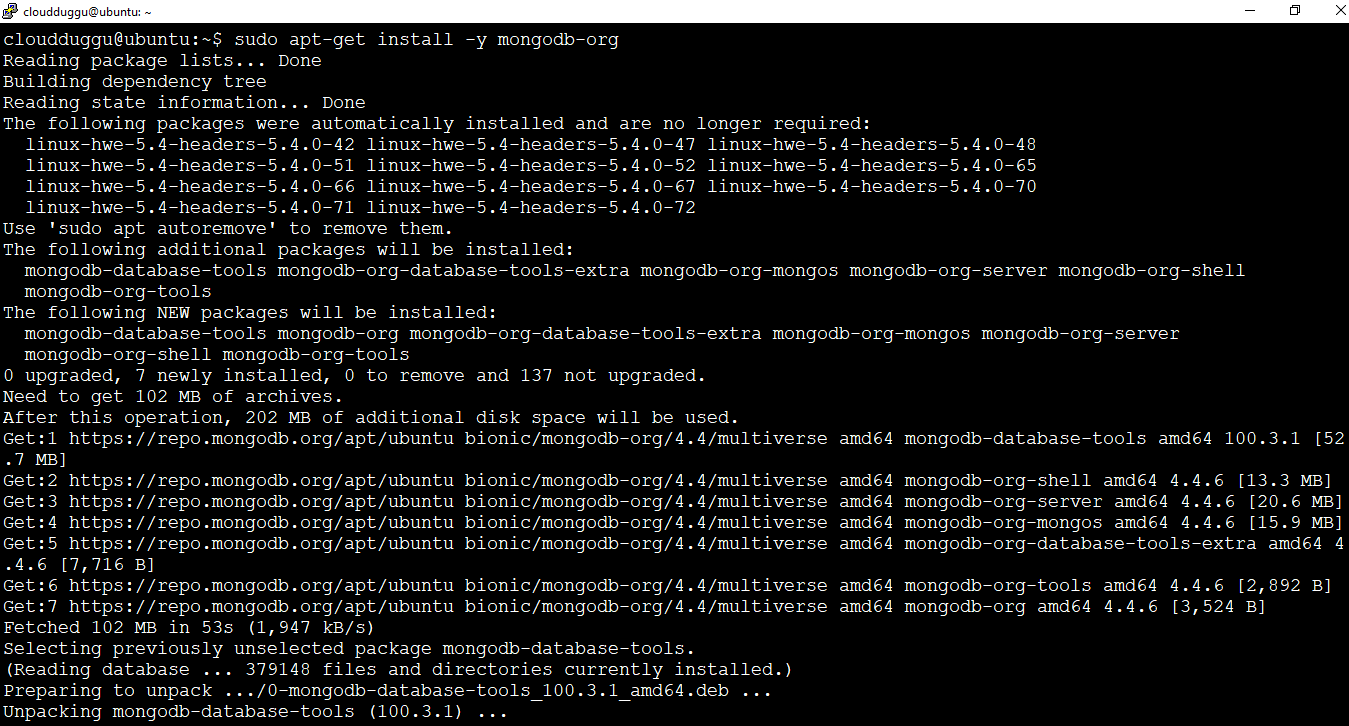
Step 5. Start the MongoDB using the below command.
cloudduggu@ubuntu:~$ sudo systemctl start mongod
Step 6. Verify the status of MongoDB using the below command.
cloudduggu@ubuntu:~$ sudo systemctl status mongod
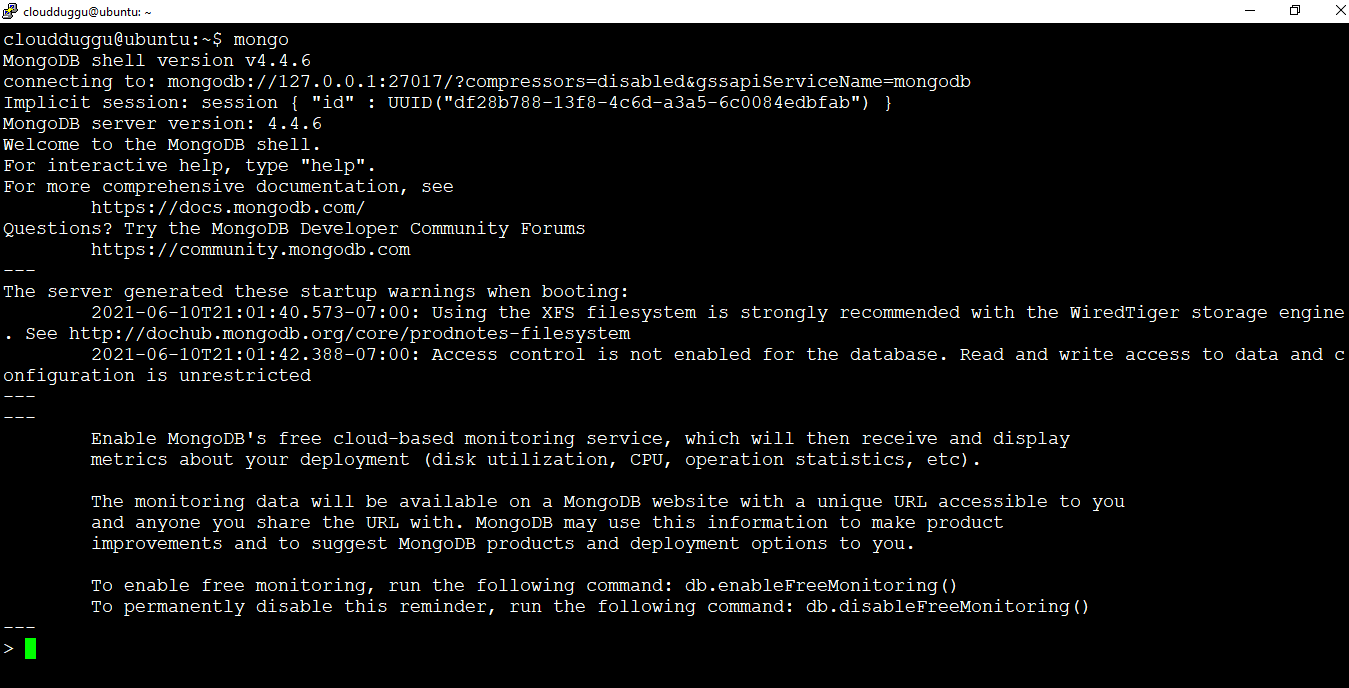
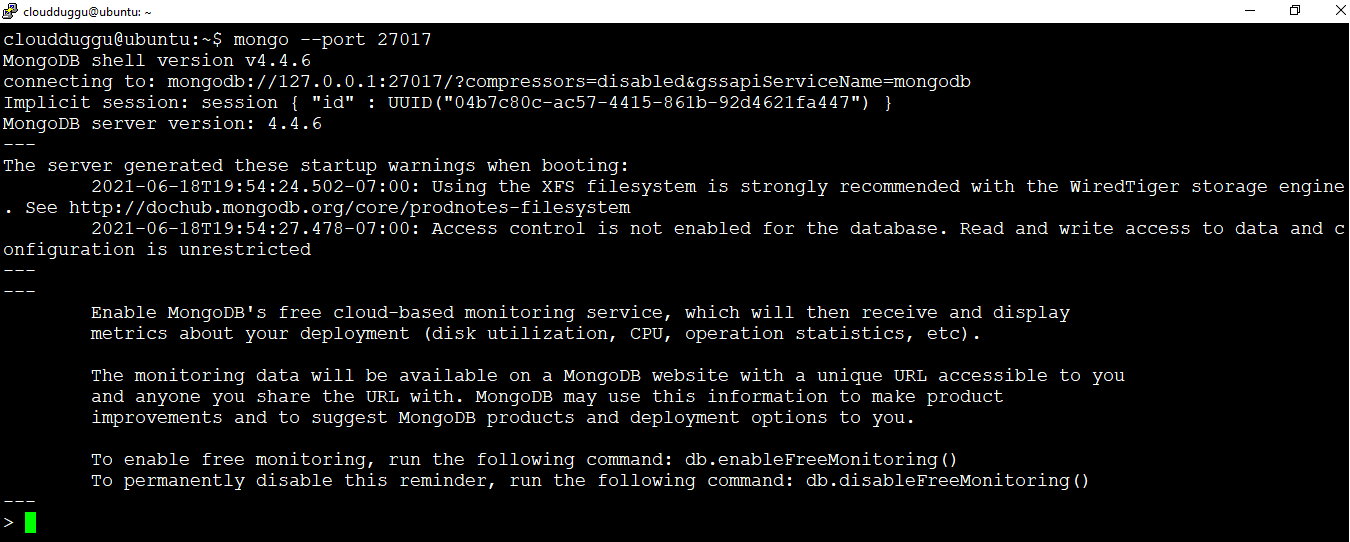
Step 7. Now start the MongoDB shell using the mongo command or we can use the mongo --port 27017.
cloudduggu@ubuntu:~$ mongocloudduggu@ubuntu:~$ mongo --port 27017
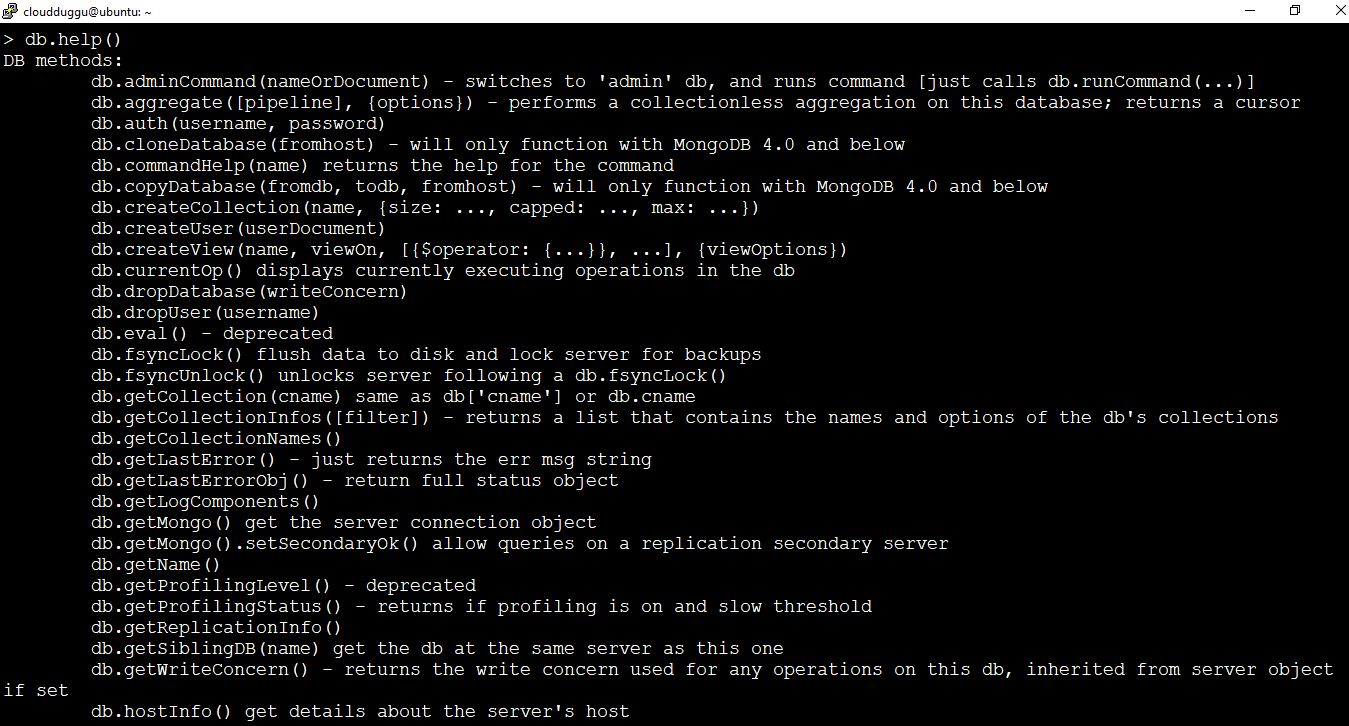
Step 8. We can run the db.help() command to see the list of commands supported in MongoDB as shown in the below screenshot.
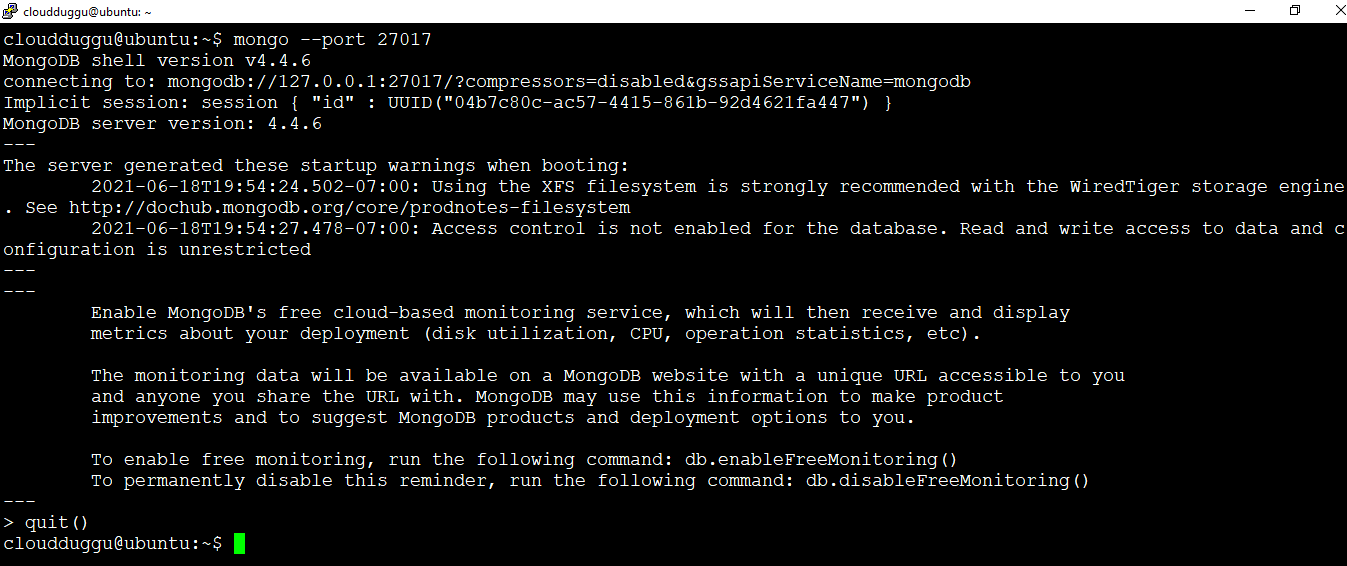
Step 9. To exit from the MongoDB shell use the exit() command.
Step 10. To stop the MongoDB Server process we can use the below command.
cloudduggu@ubuntu:~$ sudo systemctl stop mongodStep 11. To restart the MongoDB Server process we can use the below command.
cloudduggu@ubuntu:~$ sudo systemctl restart mongodNow the installation of MongoDB Version v4.4.6 has been completed on Ubuntu 18.04.4 LTS (Bionic Beaver) system.