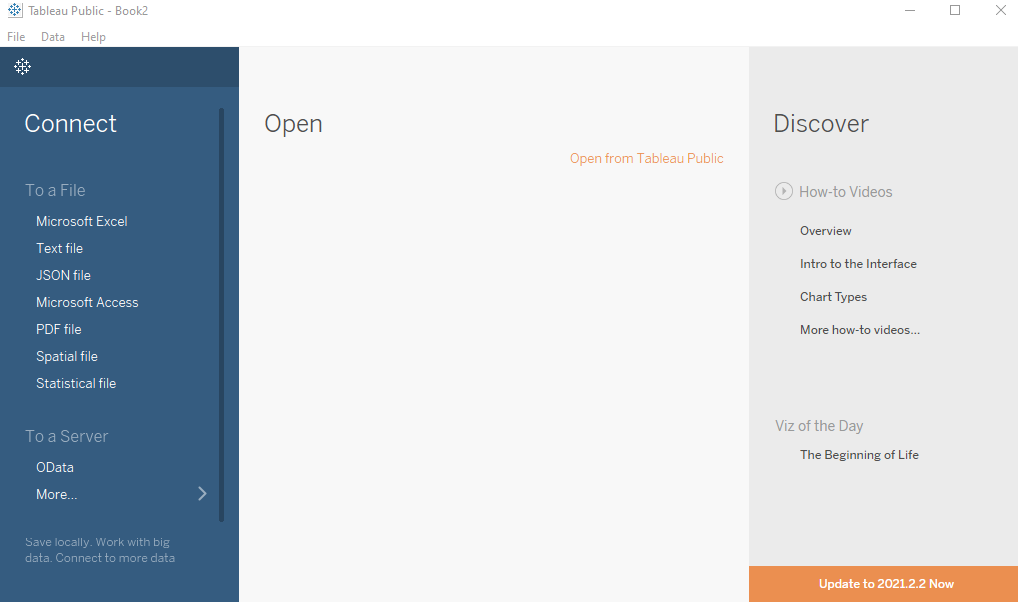
In this tutorial, we will go through the installation process of the Tableau Desktop and Tableau Public 64-bit version on the Windows 10 system. The Tableau Desktop comes with a trial period of 15 days and later we can buy the product as per requirement but Tableau Public comes as a free version for which we don't need to pay and we can use it freely. The Tableau Desktop and Tableau Public installation follow the different steps that we will see in the below section. Once the Environment Setup of Tableau is completed post that we can start using Tableau to perform the Data analytics operation.
Steps to Install Tableau Desktop
The Tableau Desktop can be used as a trial period of 15 days post that we would need to buy the license. Let us see the step-by-step Installation process of Tableau Desktop.
Step 1. Download the Personal Tableau Desktop Edition from the below link. It will ask you to enter your detail such as your email id for downloading the Tableau Desktop Software, after entering the email id click on the Download Free Trail post that the Downloading will start.
Tableau Desktop Download:- https://www.tableau.com/products/desktop/download?os=windows


Step 2. Once the Tableau Desktop download is completed, go to the Downloads folder and start the Installation Wizard as shown in the below snapshot.

Accept the Tableau Licence Agreement by clicking on the checkbox and click on the install button to start the Tableau Desktop Installation.
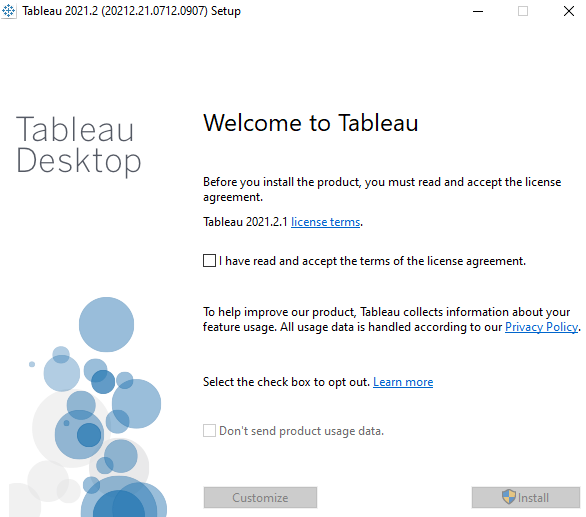
The Tableau Desktop Installation Wizard will start as mentioned in the below snapshot.
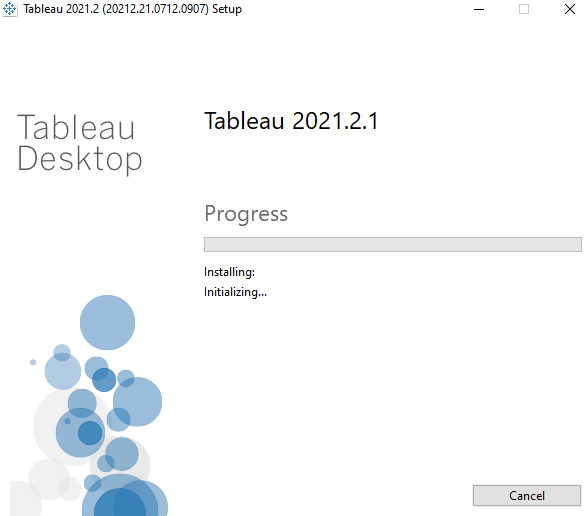
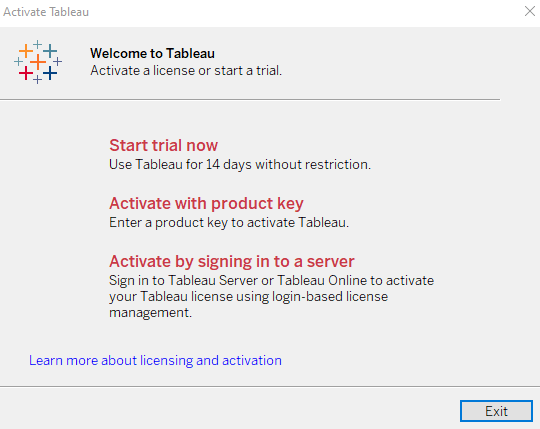
Step 3. Once the Tableau Desktop Installation is completed, it will ask you to choose the license, If you have the license key then go ahead with the Activate with the Product Key option otherwise choose the Start Trail Now option to start the Tableau 14 days of Trail Version.
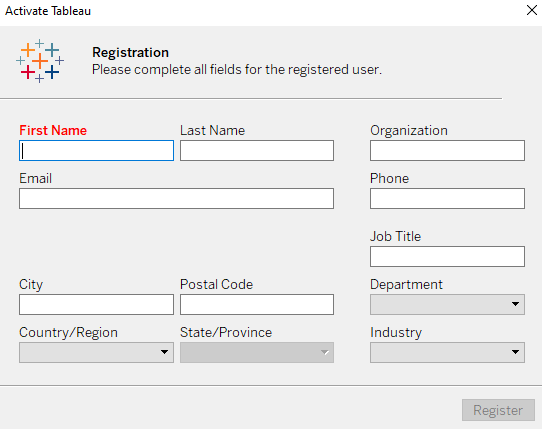
Step 4. Fill the Tableau Registration form by providing your details such as name, email ID, company name, etc. After this click on the register button to proceed further.
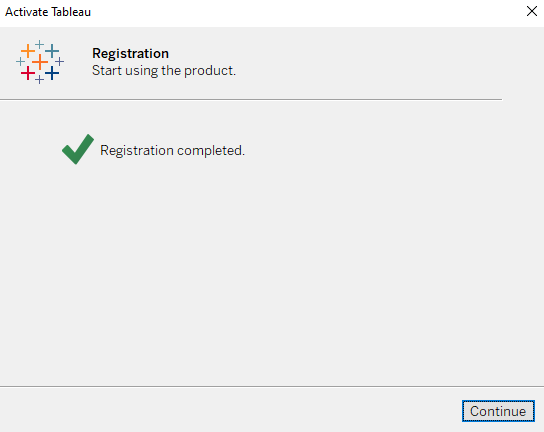
Step 5. Once the Tableau Registration is completed the following window will be shown.
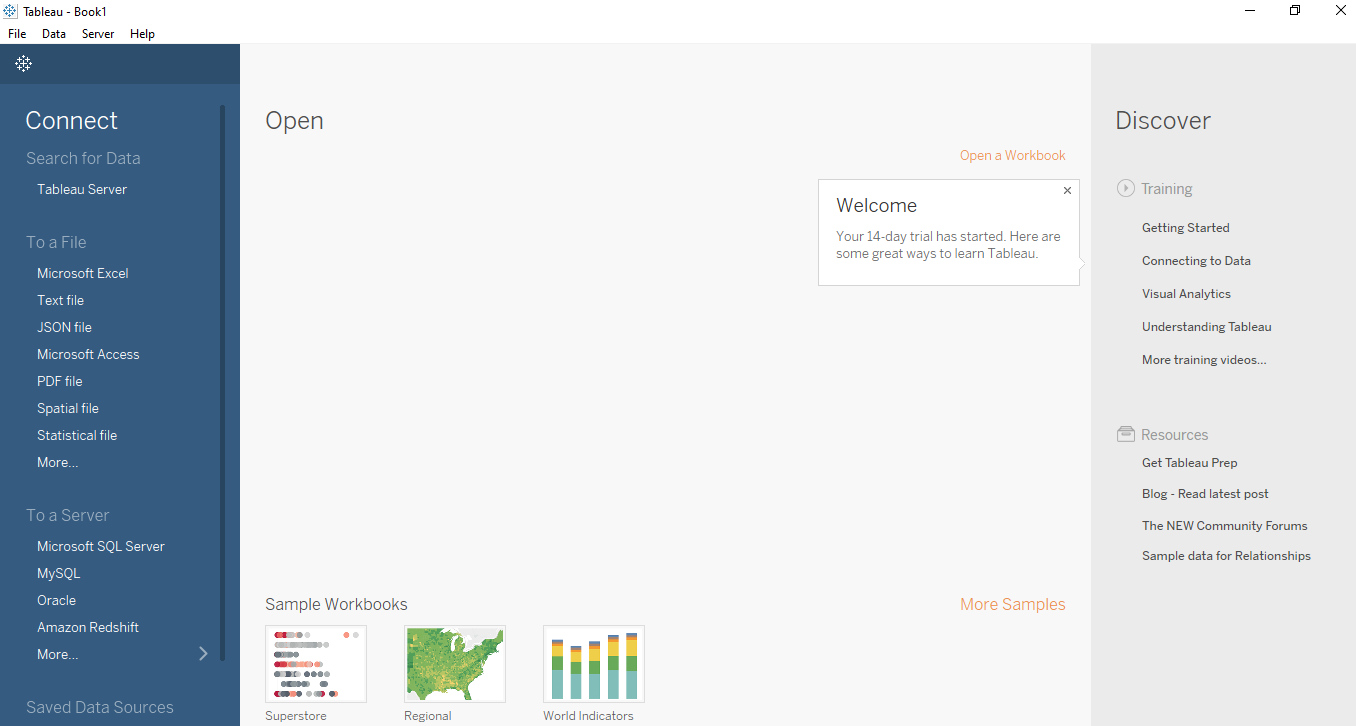
Step 6. Once the Tableau Installation is completed, we can verify the Tableau installation by going to the Window Start Menu and opening the Tableau. The below Tableau window will appear.
Steps to Install Tableau Public(free)
Tableau Public is a freely available platform for anyone to use and explore data virtualization. It is being used by thousands of people and organizations across the globe to create data virtualization. Let us explore the steps to install the Tableau Public.
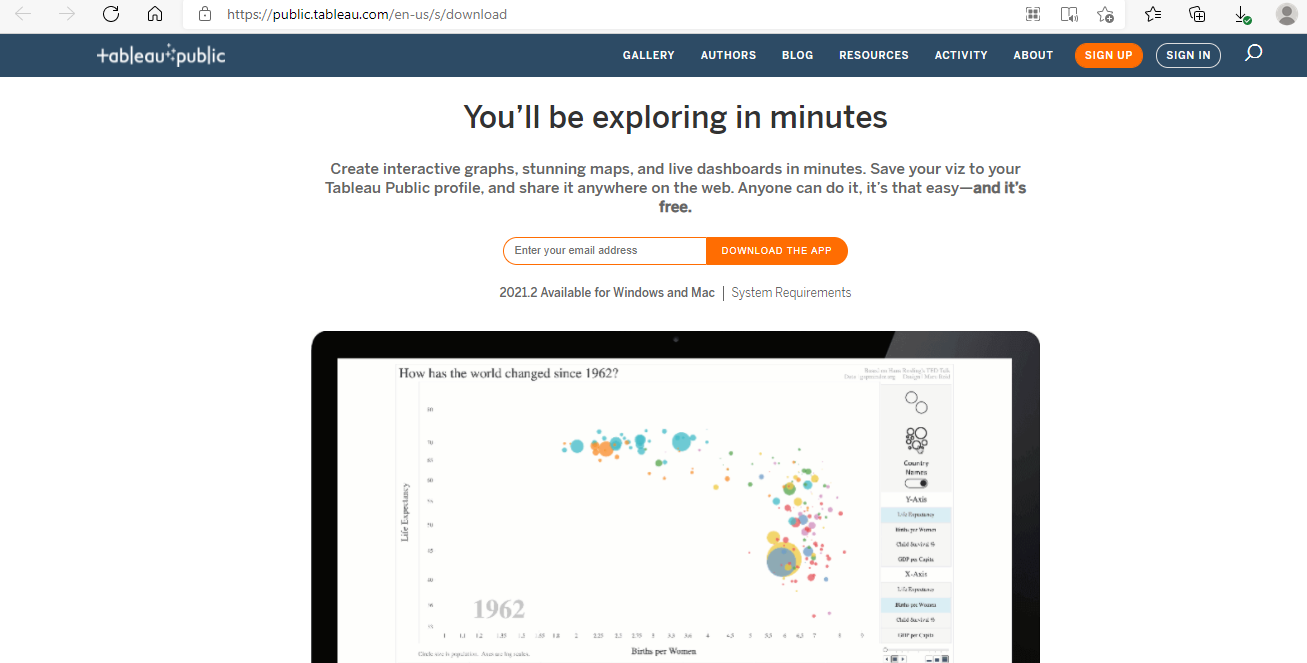
Step 1. Download the Tableau Public Version from the below link. Enter your email ID and click on the Download the App button to start the Downloading. Once you click on the Download the App button the Downloading will start.
Tableau Public(free) Download:- https://public.tableau.com/en-us/s/download
Step 2. After the completion of Tableau Public download, go to the Downloads folder and start the Installation Wizard as shown in the below snapshot.

Step 3. Post completion of Tableau Public installation, go to the start menu and start the Tableau Public as mentioned below.
